Deploy using Microsoft Hyper-V
Before starting your deployment you will need to download the latest VHD (virtual hard disk) file which can be found on the Osirium Support portal. Click here for more information.
The following steps will walk you through deploying the VHD file within your environment.
-
Within your existing Hyper-V infrastructure, create a new virtual machine with a custom configuration.
-
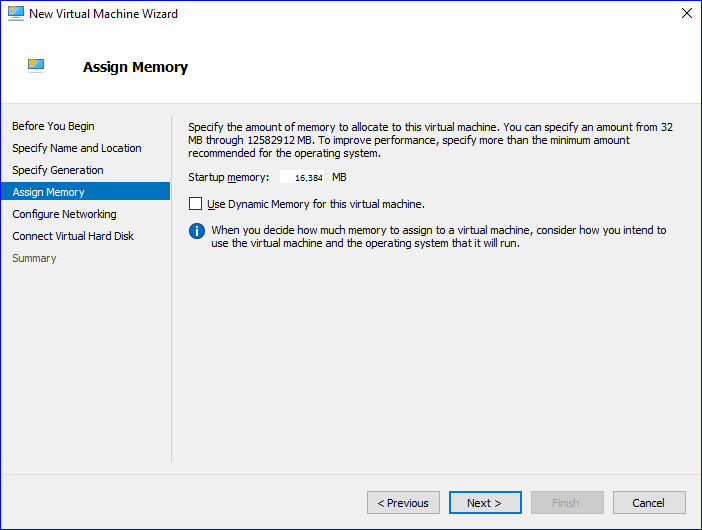
Complete the wizard based on your preferences, but ensure that you allocate the recommended memory to the virtual appliance in the Assign Memory page.
-
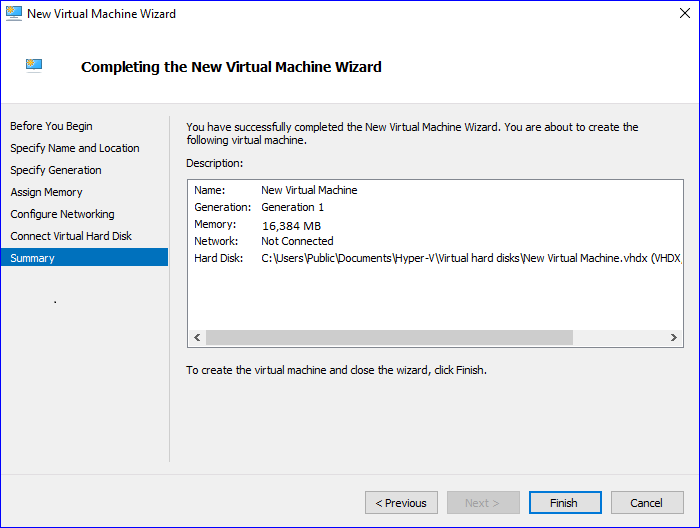
Verify the details shown on the Completing the New Virtual Machine Wizard page and click
Finish.
-
In the Virtual Machines list, right-click the new virtual appliance and click
Settings....
-
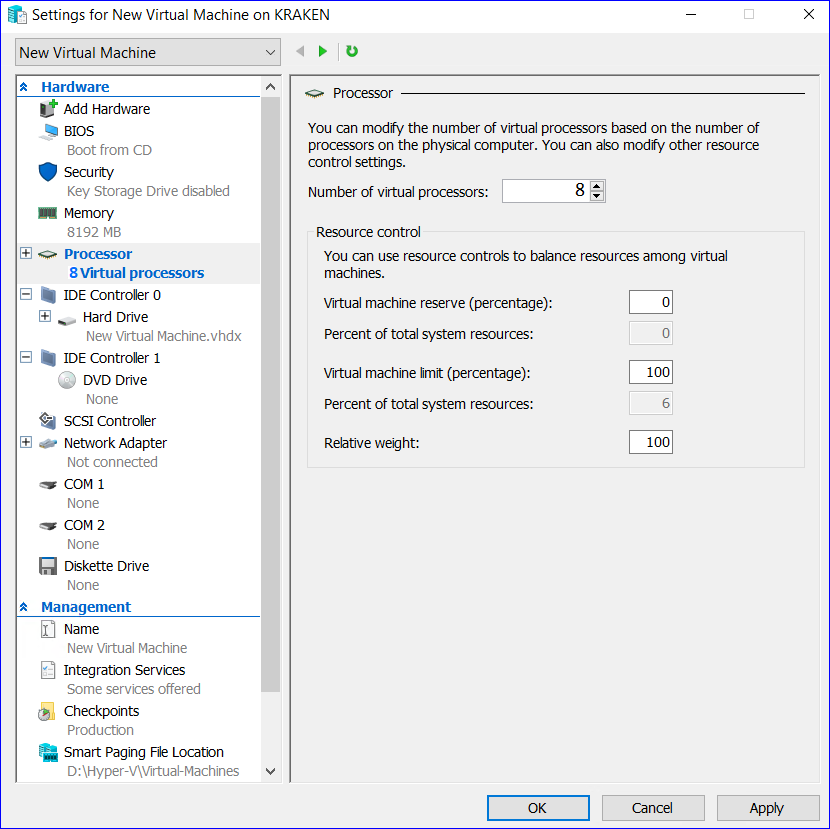
In Processor, assign 8 virtual processors to the virtual appliance.
-
Wait while the virtual appliance is created.
-
From the Hyper-V Manager window, right-click the virtual appliance and select
Start. -
Once started, right-click the virtual appliance and select
Connect. The virtual machine will open in a window on your desktop. -
The next step is to configure the server. Click one of the following installation steps to return to the correct steps: