Managing files
This section describes how files are managed, stored, transferred and downloaded. The following topics are included in this section:
Manage files
Files are created when device tasks are executed and can be viewed on the Manage files page. Device tasks are defined within the template, but not all tasks produce a file. See Template Library.
Device tasks are scheduled to run at specified times through a profile.
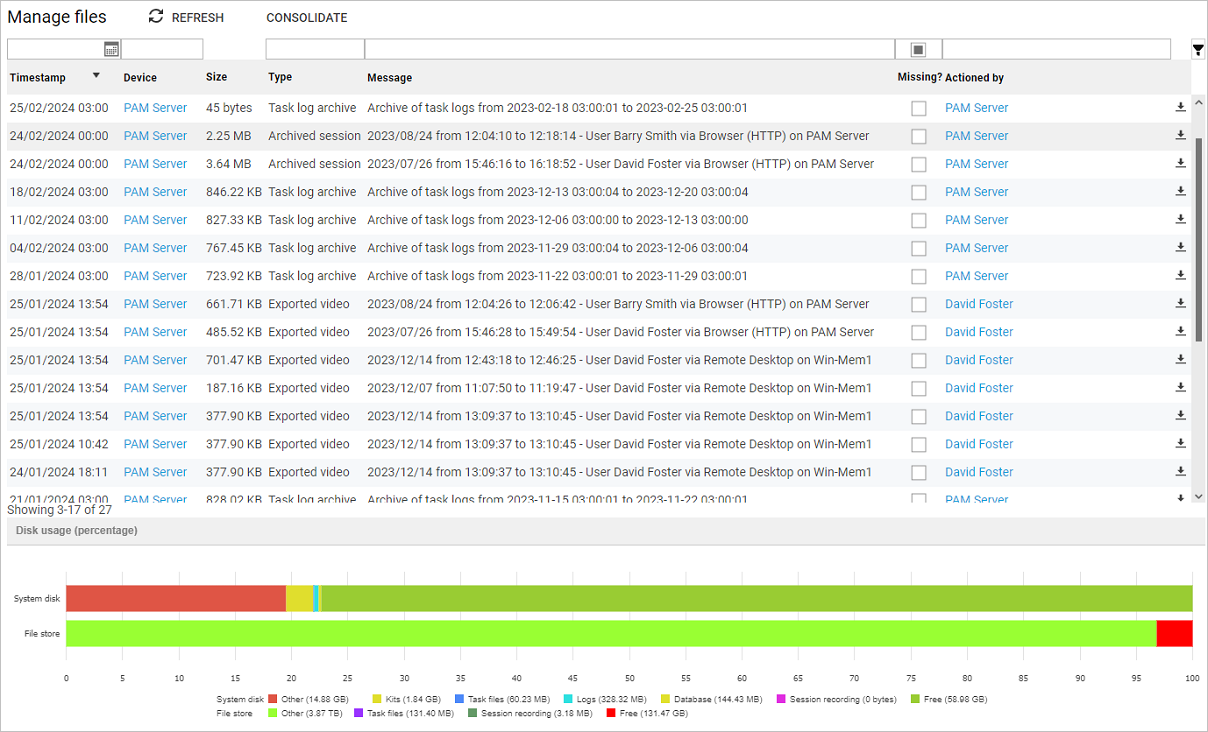
The information presented in the table includes:
| Heading | Description |
|---|---|
| Timestamp | Date and time the file was created. |
| Device | Device name the task was created against. |
| Size | Download file size. |
| Type | File type relating to the task run. |
| Message | Additional information about the file. |
| Missing? | If the checkbox is ticked, it means the file is no longer available but the entry still exists in the database to record that it once existed. |
| Actioned by | Name of the user who executed the task. |
 |
Allows you to download and save the file. |
Consolidate
It is recommended that a file store is configured to avoid disk space issues.
When the file store option is first configured, or the current file store option is changed, the CONSOLIDATE button can be used to move all files stored in the previously configured file stores into the currently configured file store.
Warning
Session playback and file download may not be available until all files have been moved to the new file store.
-
Click on the
CONSOLIDATEbutton.
-
The Question window is displayed.
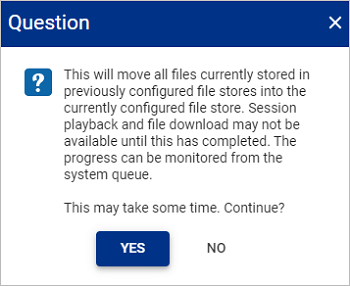
-
Click
YES.
Disk usage and freeing up disk space
The disk usage bar(s) provides a breakdown of how the disk space is being used and the amount of free space available.
All files are stored locally as default unless an external disk has been configured, in which case all device files and Session Recordings will be stored on the external disk. See File store.
Note
If an SMB share file store resides on a Windows Server, create a quota to ensure the disk space reporting in PAM is accurate.
When disk space reaches 80% full, an amber warning message will appear on the Admin Interface. When it reaches 90% full, you will get a red error message.
To free up disk space:
- Delete upgrade kits copied to the server. These can be found at root level.
- Delete any extracted kits which can be found in /data/kits.
- Increase the disk size.
- Add an external disk if you don't already have one. See File store.
- If you already have an external disk, then extend it. See the article Extend a file store disk used by PAM Server.
Transferring files to and from devices
Files can be moved in the following ways:
Single sign-on to SFTP clients
When available in a device template, the SFTP tool can be added to profiles associated with the device. This allows users in the profile to single sign-on via an SFTP client, allowing file access, file transfer and file management on the device.
Restricted access to RDP drive mapping and RDP clipboard for Windows servers
When a remote desktop tool is included in a template, RDP drive mapping and RDP clipboard can be enabled.
Select Allow RDP Drive Mapping and Printer Forwarding to expose the drives in an RDP session, allowing users to copy files from their workstation to the RDP session and allow users to print within the session.
Select Allow RDP Clipboard to allow users the ability to copy to clipboard between the client and the RDP session.
Note
For more information on these methods, see Manage Profiles.
Downloading a file
If the PAM Server Browser (HTTP) tool is being session recorded, then you will need to use the Shared Drive mechanism for downloading files. For further details see Downloading a file using Shared Drive.
Deleting a file
Deleting a file permanently removes the file.
To delete a file from the Manage files page, right-click on an individual file and then click  icon.
icon.