System configuration
This section covers:
Uploading an Osirium product licence REQUIRED
-
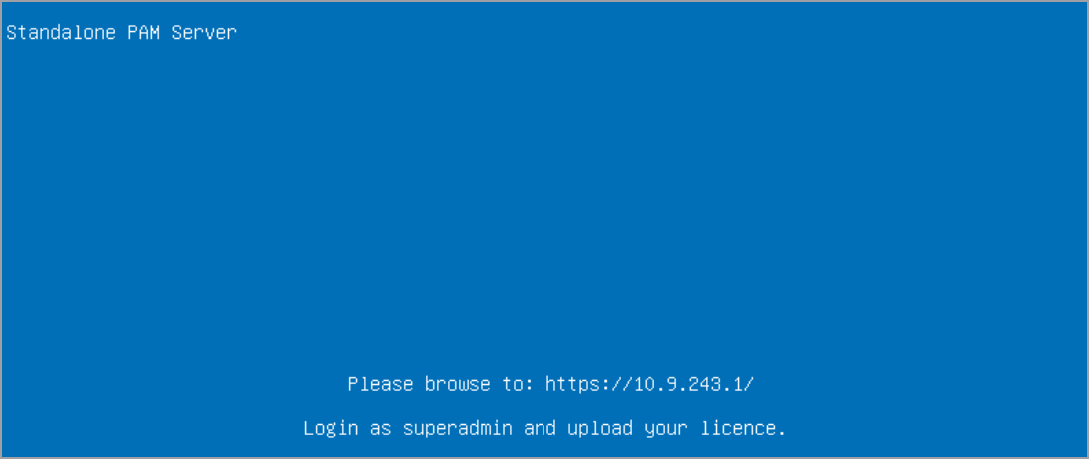
Using the https address noted on the blue console screen at the end of your deployment of the PAM Server, log on using the superadmin username and password.

-
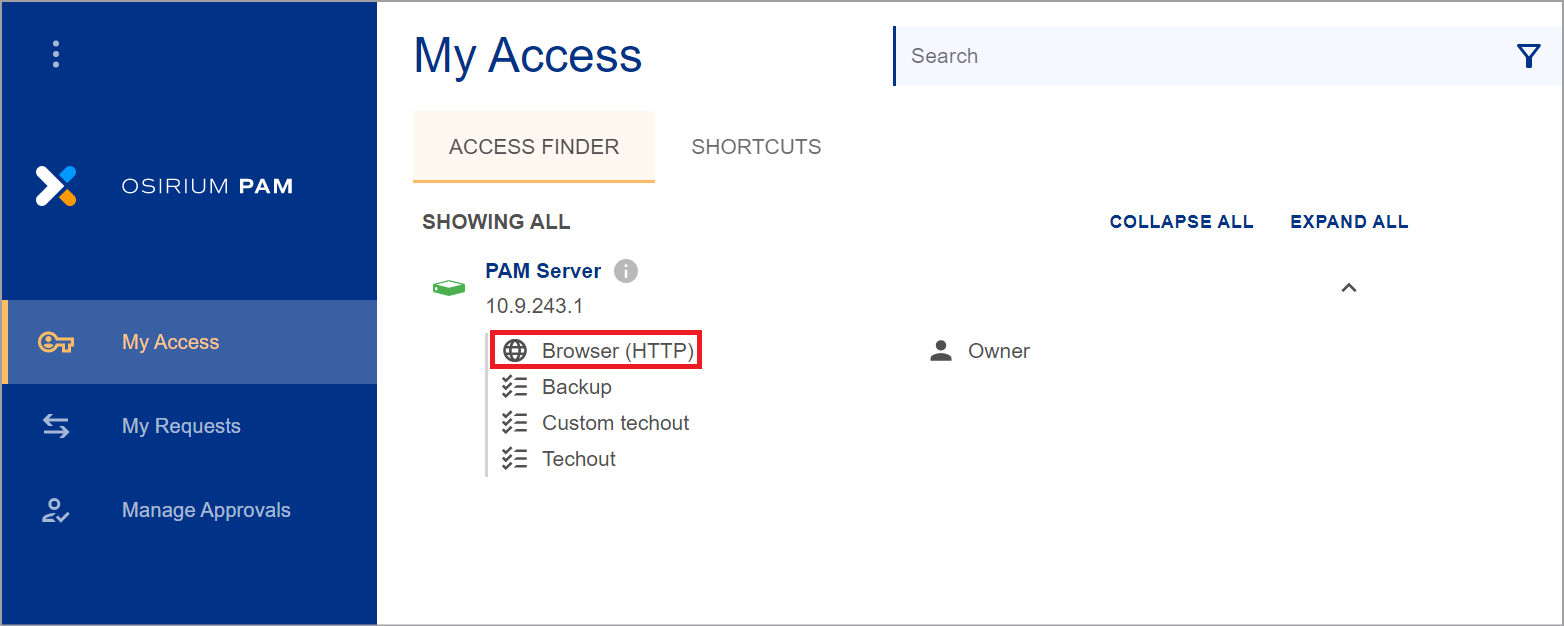
Select Browser (HTTP) to open up the Admin Interface.
-
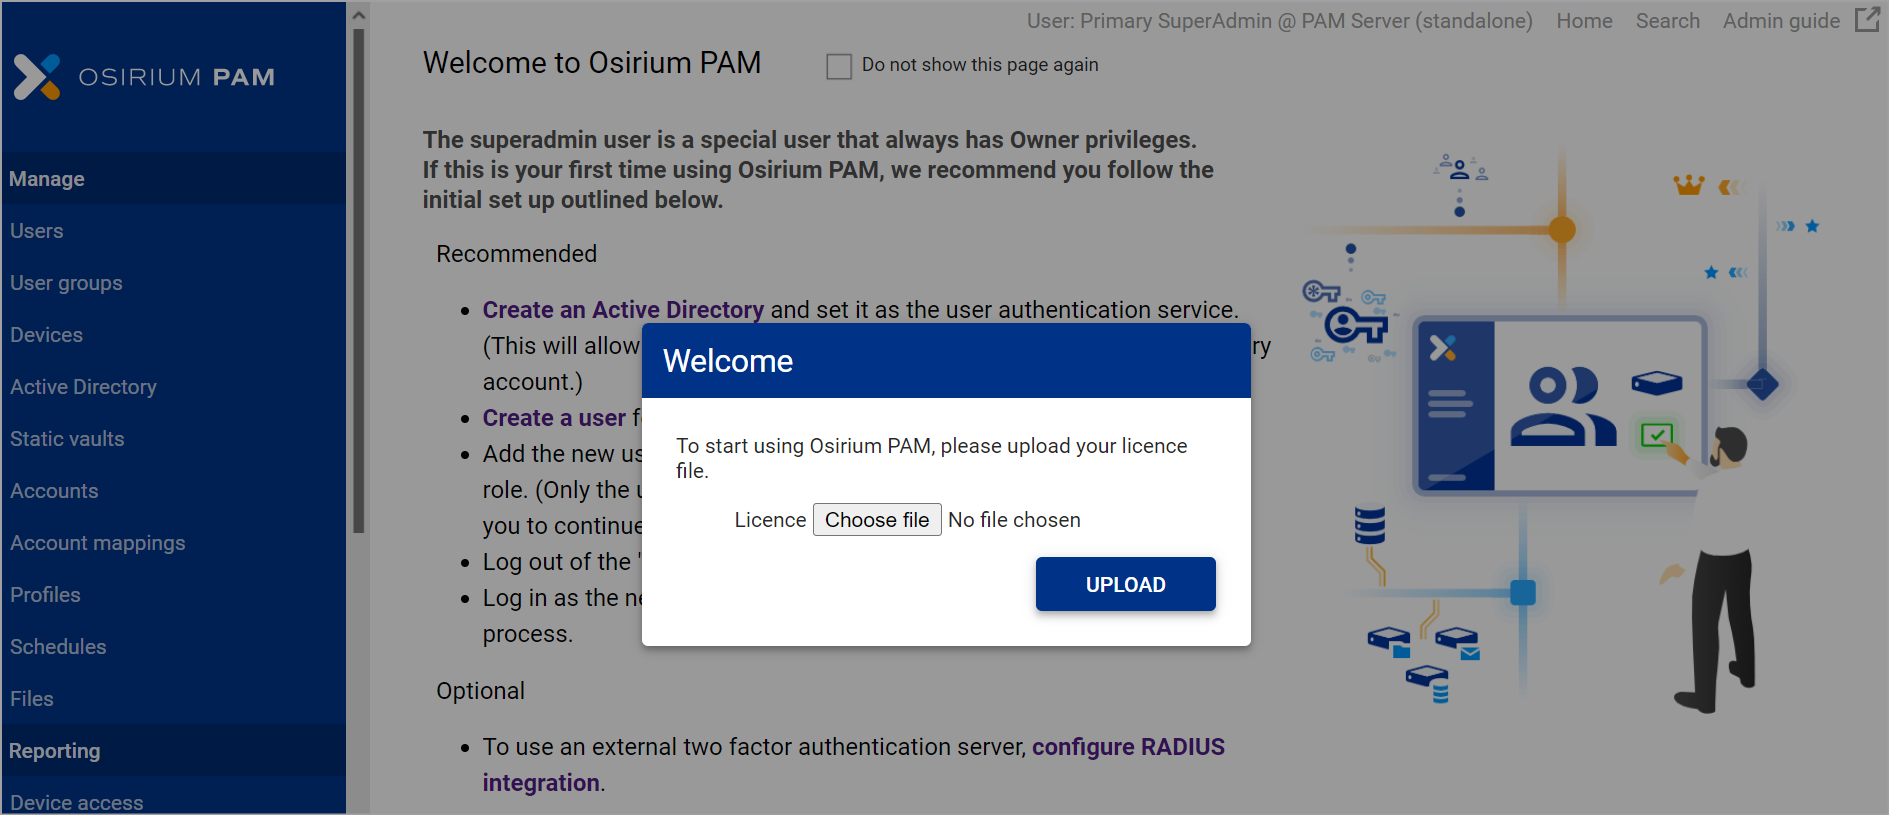
Within the Admin Interface you will be prompted to upload a valid Osirium PAM licence before you can start using the server.
-
Within the Upload licence window, click
Choose file. -
Select your Osirium PAM licence file and click
Open -
Click
UPLOAD. -
Click
ACKNOWLEDGEwithin the Action notifications window. Your browser will be refreshed.
Uploading a trusted certificate RECOMMENDED
By default, Osirium PAM provides a generic certificate to allow secure web connections to the UI and Admin Interface.
We recommend that you upload a trusted certificate valid within your organisation. For further details on the types of certificates that can be uploaded click here.
The steps to upload a certificate differ depending upon the certificate type.
Certificate with RSA private key
To upload:
-
Within the Admin Interface navigate to the System configuration > Certificates tab.
-
On the Certificates tab, click LOAD NEW CERTIFICATE.
-
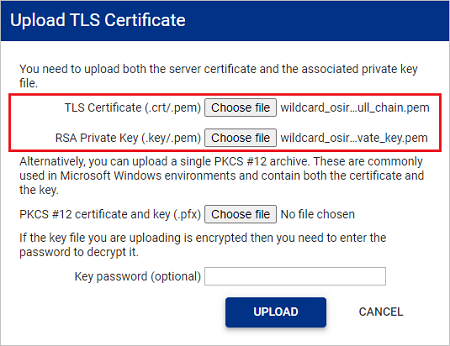
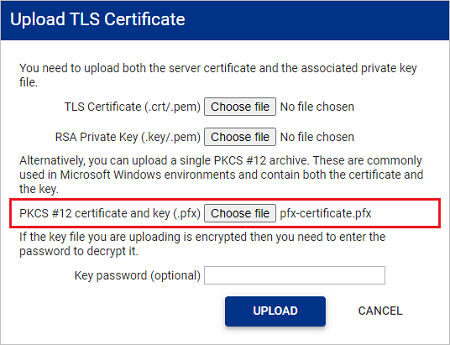
In the Upload TLS Certificate window, upload your trusted certificate and RSA private key. Both are required for a successful upload.
- TLS Certificate: Uploaded certificates will be verified to ensure they are an X.509 certificate with a .pem file format.
- RSA Private Key: Uploaded keys are verified to ensure they are an rsa key with a .key file format. Passwords/passphrase are NOT supported on the the rsa key.
-
If the private key you are uploading has been encrypted, enter the password in the Key password (optional) input box.
-
Click UPLOAD. The certificate is uploaded.
PKCS12 archive file
To upload:
-
Within the Admin Interface navigate to the System configuration > Certificates tab.
-
On the Certificates tab, click LOAD NEW CERTIFICATE.
-
In the Upload TLS Certificate window, upload your PKCS #12 file.
- The certificate contained within the PKCS #12 file will be verified to ensure it is a X.509 certificate.
- The private key contained within the PKCS #12 file will be verified to ensure it is an rsa key.
-
If the private key you are uploading has been encrypted, enter the password in the Key password (optional) input box.
-
Click UPLOAD. The certificate is uploaded.
Next steps
Once you have completed your system configuration you can start to administer your privileged access by adding users, devices and configuring profiles. For more information click here.