Installing the MAP Server
This section covers:
Installation process workflow
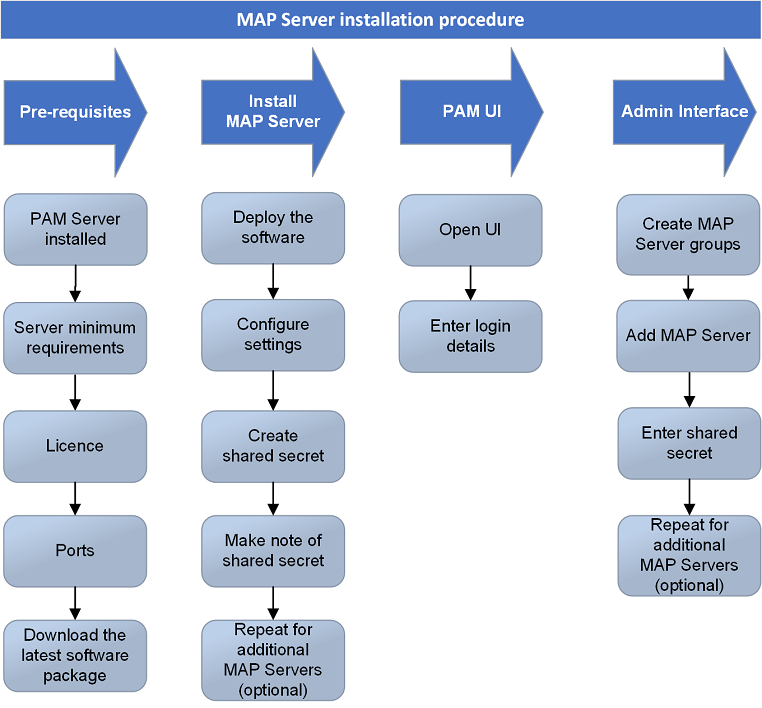
The following diagram illustrates the process for installing the MAP server.
MAP Server installation procedure flowchart
Software download
The installation file is supplied as an MSI, ready for deployment onto a Windows Server.
Note
The installer is now only available in 64-bit. However, Osirium PAM still supports existing 32-bit MAP server configurations.
To download the latest MAP server installation file, for use with PAM Server 5.4.0 or above:
-
Go to the MAP Server Installer download page section of the Software Releases page.
-
From the table, download the installation file and copy to the Windows Server that will host the MAP server.
A SHA256 checksum is available to verify the download integrity.
To download the MAP Server installation file for versions of 5.4.0 or earlier, contact Osirium Support.
Further details on MAP server compatibility with earlier versions of the PAM Server can be found on the PAM Server versions and MAP installer compatibility table.
Installation procedure
The following steps guide you through deploying a MAP Server service on an existing Windows Server:
-
Within the Windows Server, run the MAP Server installation file. The Server Setup window appears.
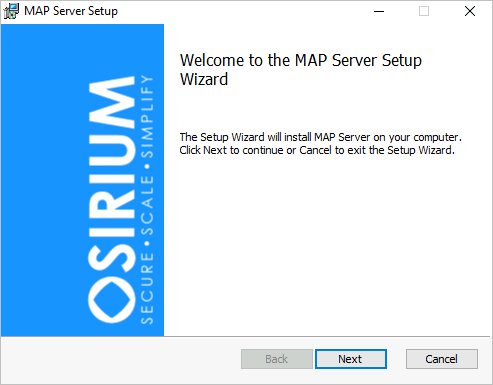
-
Click
Next. -
Within the End-User License Agreement window, read and accept the license agreement.
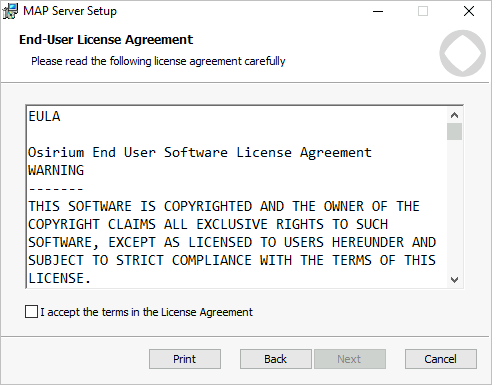
-
Click
Next. -
Within the Destination Folder window, accept the default folder location or specify a location of your choice.
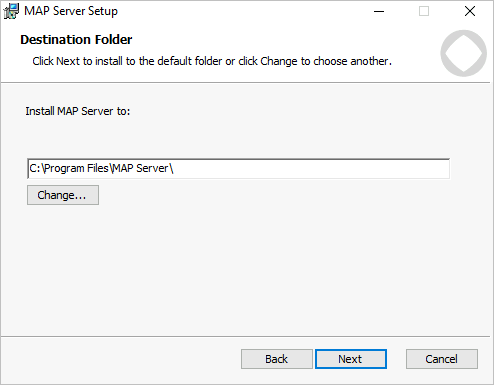
-
Click
Next. -
Within the Enter your shared secret window, specify a shared secret. We suggest noting the shared secret because it will be required later, when adding the MAP server to the PAM Server through the Admin Interface.

Note
The same shared secret can be used for multiple MAP server installations.
-
Click
Next. -
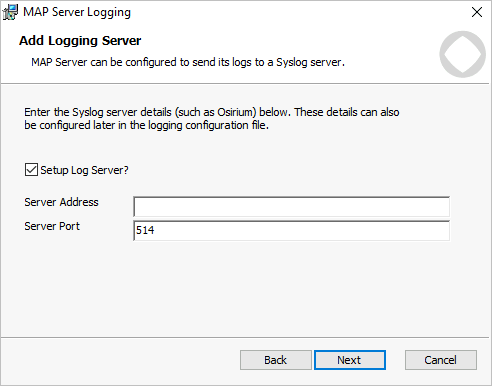
To enable the MAP server to send logs to a syslog server:
- Within the Add Logging Server window, select
Setup Log Server?. - Provide your Server Address and Server Port details.
We recommend using your PAM Server as your syslog server so you can view syslog messages in the Admin Interfaces. See Administrators Guide > Logs.
- Within the Add Logging Server window, select
-
Click
Next. -
Within the Ready to install MAP Server window, click
Install. The installation process begins.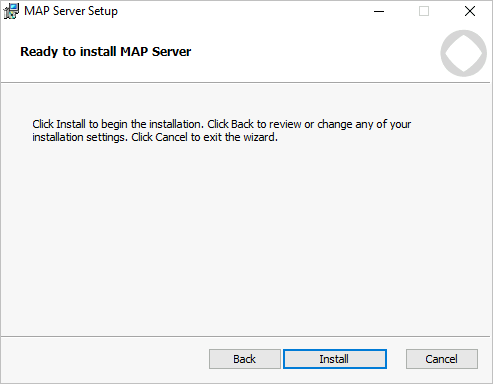
-
Within the Completed the MAP server Setup Wizard window, click
Finish.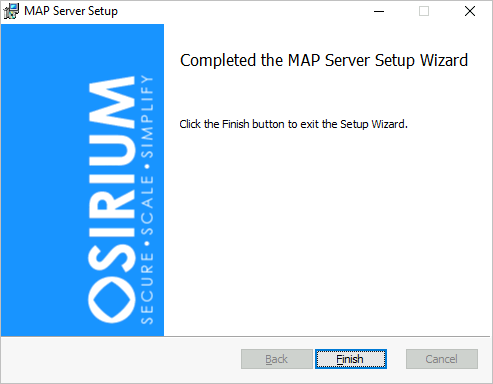
Note
The MAP server service log file will be stored in the following location: C:\Windows\Logs\MapServer\service.log
-
Within the MAP Server Setup window, click
Yesto restart your system.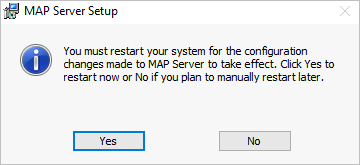
Installing using command parameters
If you prefer to install the MAP Server MSI package using command line parameters (or using automated deployment technologies) then the following command line parameters will help you.
Osirium_MAP_Server_v7.2.0.4_x64 /q /norestart /l C:\install.log INSTALLFOLDER="C:\Program Files\Osirium *PAM MAP Server*\" SHARED_SECRET=abc123 USE_LOG_SERVER=1 LOG_SERVER_ADDRESS=1.2.3.4 LOG_SERVER_PORT=514
The MAP Server MSI package can be installed at the command line (or using automated deployment technologies) using the following parameters:
| Parameter | Example | Description |
|---|---|---|
| INSTALLFOLDER | C:Program Files (x86)Osirium MAP Server | The directory to install the MAP Server software to. |
| SHARED_SECRET | dsfg87dfg7a54sdg8sdf57dsghfdgh | The shared secret is used between the PAM Server and the MAP Server. |
| USE_LOG_SERVER | 1 | Turns on remote logging via syslog. |
| LOG_SERVER_ADDRESS | 1.2.3.4 | Target server for remote logging syslog. This is typically a PAM Server. |
| LOG_SERVER_PORT | 514 | Target server syslog port. The default for this is UDP 514. |
Note
Although the /norestart switch has been used here, the MAP Server does need a reboot to properly complete the install.
Next steps
Once the MAP Server has been installed you will need to do the following:
-
Ensure the required thick client applications are installed on the MAP Server.
-
Add the MAP Server to the PAM Server(s) that will be using it.
To add the MAP Server to your PAM Server:
-
Open the Admin Interface.
-
Click on the MAP servers option in the left-hand menu.
-
Click on the MAP server group tab and create your MAP Server groups first.
-
Click on the MAP Servers tab and add a new MAP server.
See Administrators Guide > Adding the MAP Server to the PAM Server.
-
Provision the thick application using a device template compatible with MAP server.
-
Create a profile to give users access to the thick application. When selecting the MAP tool ensure a MAP Server Group is selected within the Options field.
See Administrators Guide > Managing devices.
The thick management application tool is now setup and can be single signed on by users through the PAM UI interface.