Deploying and install configuration using VMware vSphere
This section covers.
Deploying the virtual machine
The following steps walk you through deploying the PAM UI Server within a VMware vSphere infrastructure.
-
Within your existing VMware infrastructure, right-click an inventory object and select
Deploy OVF Template.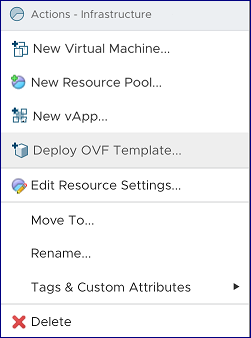
-
The Deploy OVF Template wizard opens. On the Select an OVF template page, specify the location of the OVA template and click
NEXT.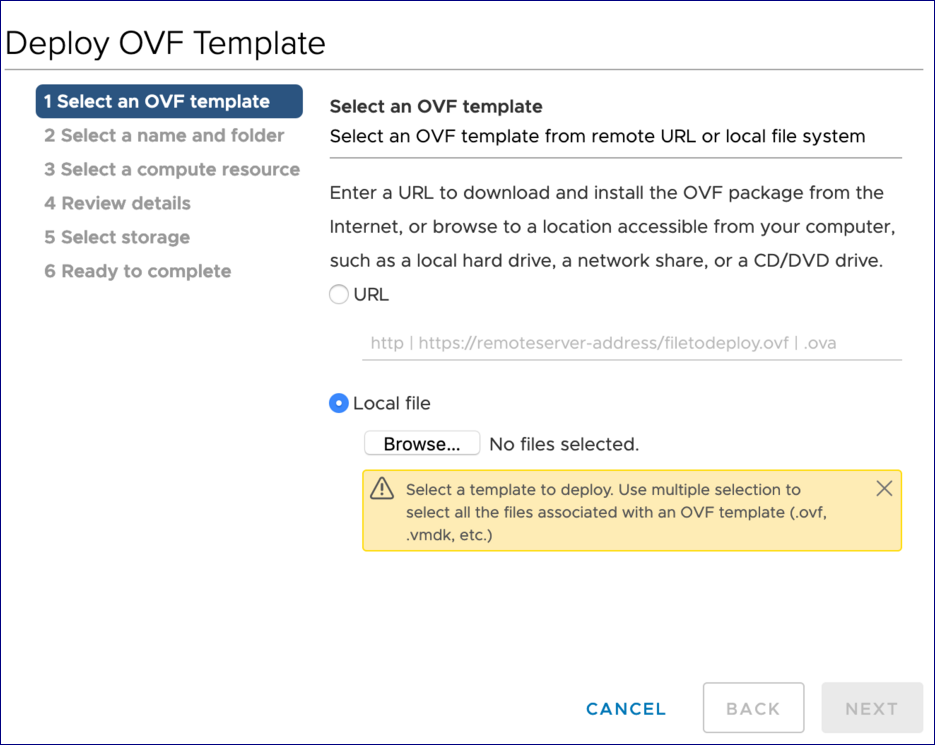
-
On the Select a name and folder page, enter the unique name the PAM UI Server will be identified by, select a deployment location and click
NEXT. -
On the Select a compute resource page, select a resource on which to run the deployed PAM UI Server template and click
NEXT. -
On the Review details page, verify the OVF template details and click
NEXT. -
On the License agreements page, read the Osirium end-user license agreement. Accept and click
NEXT. -
On the Select storage page, define where and how to store the PAM UI Server files that will be deployed through the OVA template and click
NEXT. -
On the Select networks page, select a network the PAM UI Server will be accessible from and click
NEXT. -
On the Ready to complete page, review the settings selected and click
FINISH. Wait while the server is created.
Network Configuration Settings
To setup the network configuration on the PAM UI Server:
-
Once the PAM UI Server has finished deploying, right-click and select
Power On. Wait while the server is booted.Warning
DO NOT turn off the PAM UI Server during the boot stage as this may cause the machine to become corrupted.
-
Within VMware vSphere open the Console window of the deployed PAM UI Server.
-
At the command type
sudo netconfand press ENTER. -
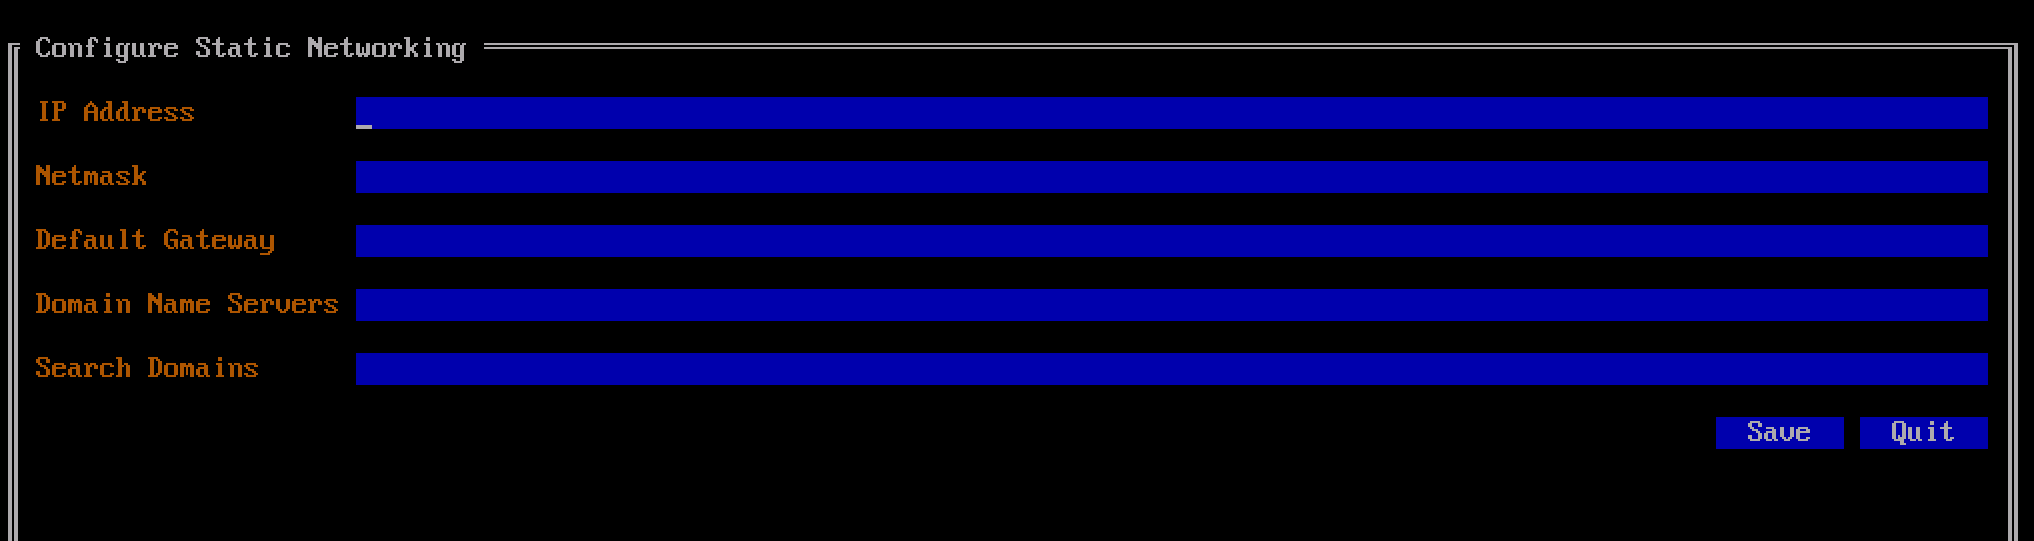
Within the Configure Networking screen, configure the following server settings. Press TAB to navigate between the fields.
- IP Address: Enter the IP Address which will be used to connect to the PAM UI Server.
- Netmask: Enter the network mask.
- Default Gateway: Enter the network default gateway IP address.
- Domain Name Servers: Enter the network DNS IP address. Enter multiple servers as a comma separated list.
- Search Domains: Enter the domain to be used as part of a domain search list. Can be left empty.
-
When completed TAB down to the
Savebutton and press ENTER. The network configuration is saved and you are navigated to a confirmation screen. -
When prompted select
Saveand press ENTER.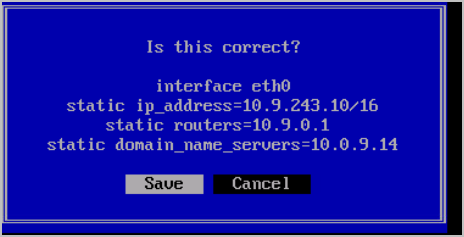
-
You MUST reboot before continuing. At the command prompt type
sudo rebootto apply the configuration. Wait while the system is rebooted.
SSH Access Configuration
SSH access configuration is required to allow administrators to SSH onto the PAM UI Server.
When the first SSH connection is made to the PAM UI Server a private key is set. The server will generate a unique username for this initial connection which will be deleted once the initial setup has been completed.
Note
Additional keys can be added after setup.
Adding the first SSH public key
-
Generate an RSA key pair using your preferred method.
Note
Instructions for generating an RSA key pair using PuTTY can be found here
-
Open the Console window of the PAM UI Server.
-
At the command prompt type
sshconfand press ENTER. This will display a one-time username that you will use to setup the SSH key for the support user account.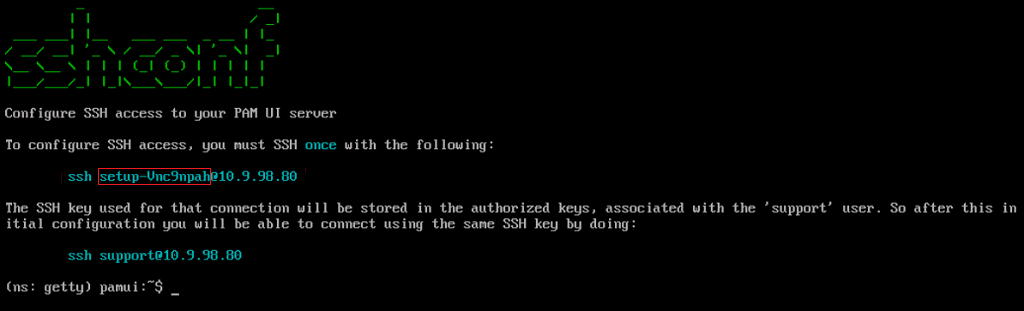
Note
The setup-xxxxxxxx username displayed will be unique to each PAM UI Server install.
-
Open your preferred SSH tool and enter the following:
- Enter IP address of the PAM UI Server.
- Enter the setup-xxxxxxxx username as displayed in the Console window as the login username.
- Select the private key file (.ppk file) for authentication.
-
Click
Open. -
As this is the first time you are connecting you will see a fingerprint alert window, accept the fingerprint.
-
The connection window will only remain open for a few seconds and then disappear. You may see an error on disconnect. This is okay and expected.
-
This connection has now set the SSH key of the support user for your PAM UI Server. All future SSH connections to the PAM UI Server should be made using the support username and the private key file.
-
To test, open your preferred SSH tool and enter the following:
- IP address of the PAM UI Server.
- Enter support as the login username.
- Select the private key file (.ppk file) for authentication.
-
Click
Openand you will be connected to the PAM UI Server.