Azure
This guide is for Azure.
Installation of Opus should take around 15 minutes.
You will:
- Create a virtual machine using the Opus base image.
- Create a security group for Opus.
- Launch the Opus Virtual machine.
Note
This guide requires an Azure account and console access.
Creating the Virtual Machine
Navigate to the Virtual machines area of your Azure account, then select Add to open the Create a virtual machine dialog.
Basics
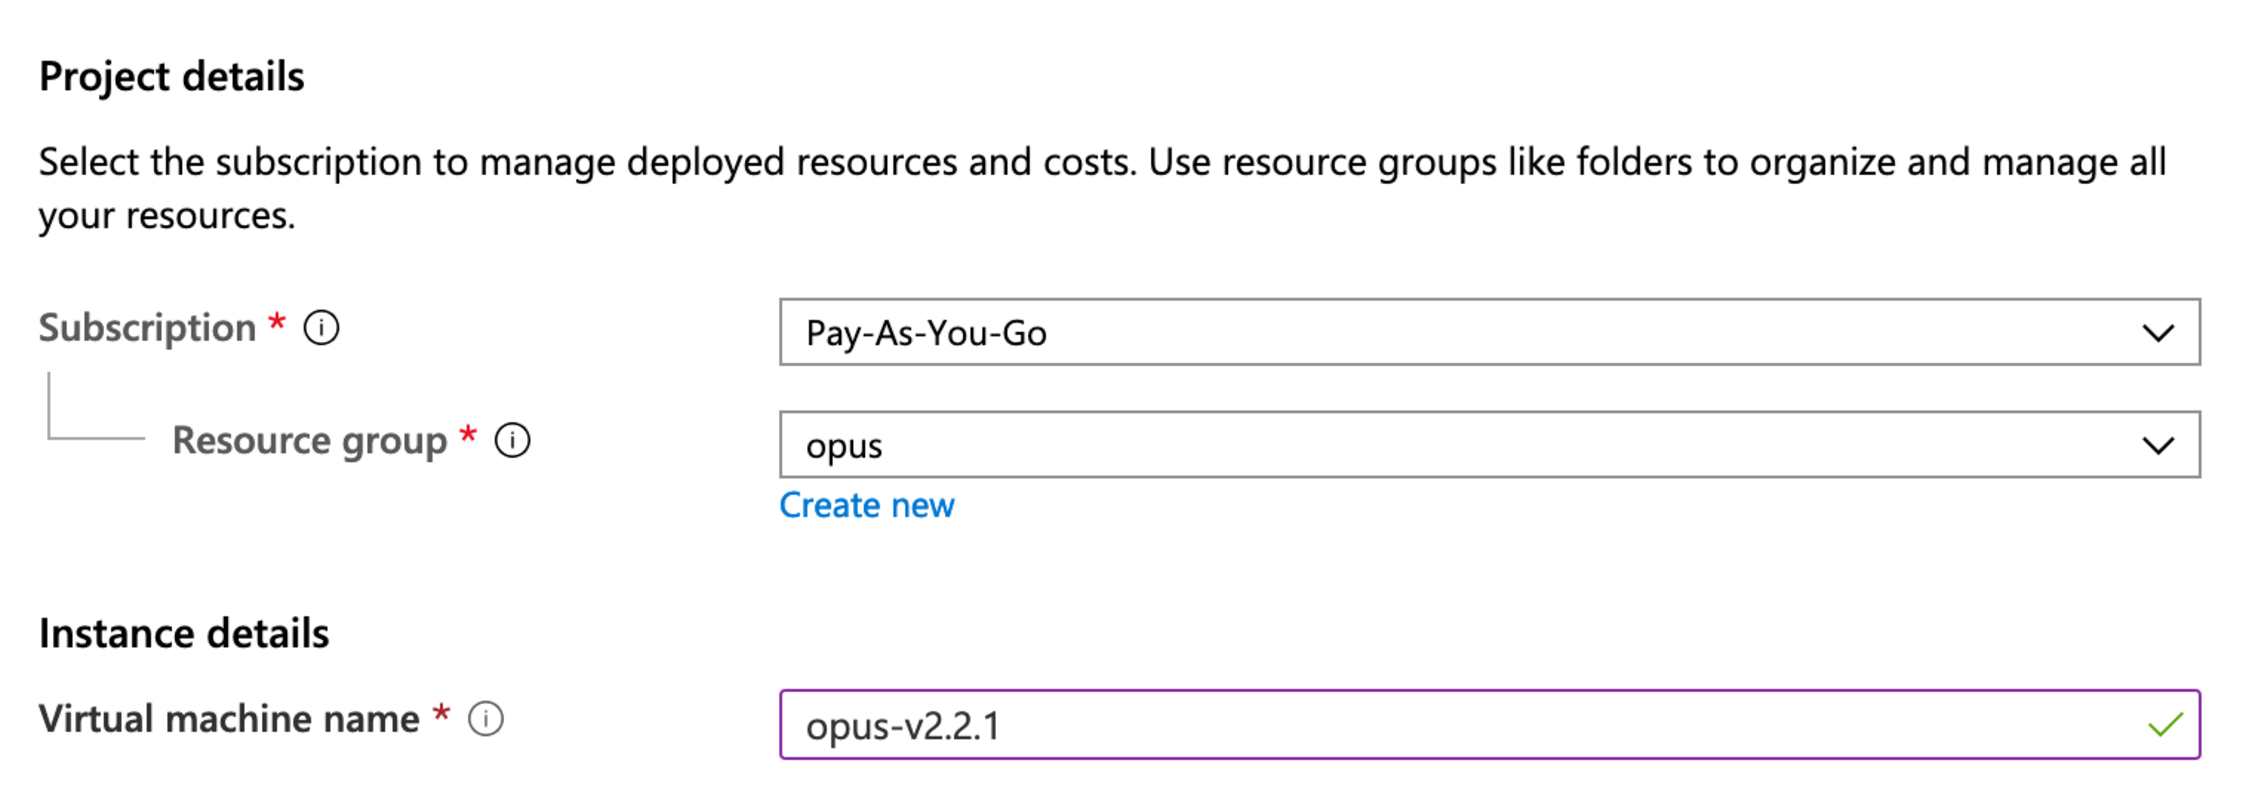
Project and Instance Details
You will need to choose a suitable Subscription, Resource Group, Virtual Machine Name, and Region.
Then select Browse all public and private images to search for the Opus image in the Azure marketplace.

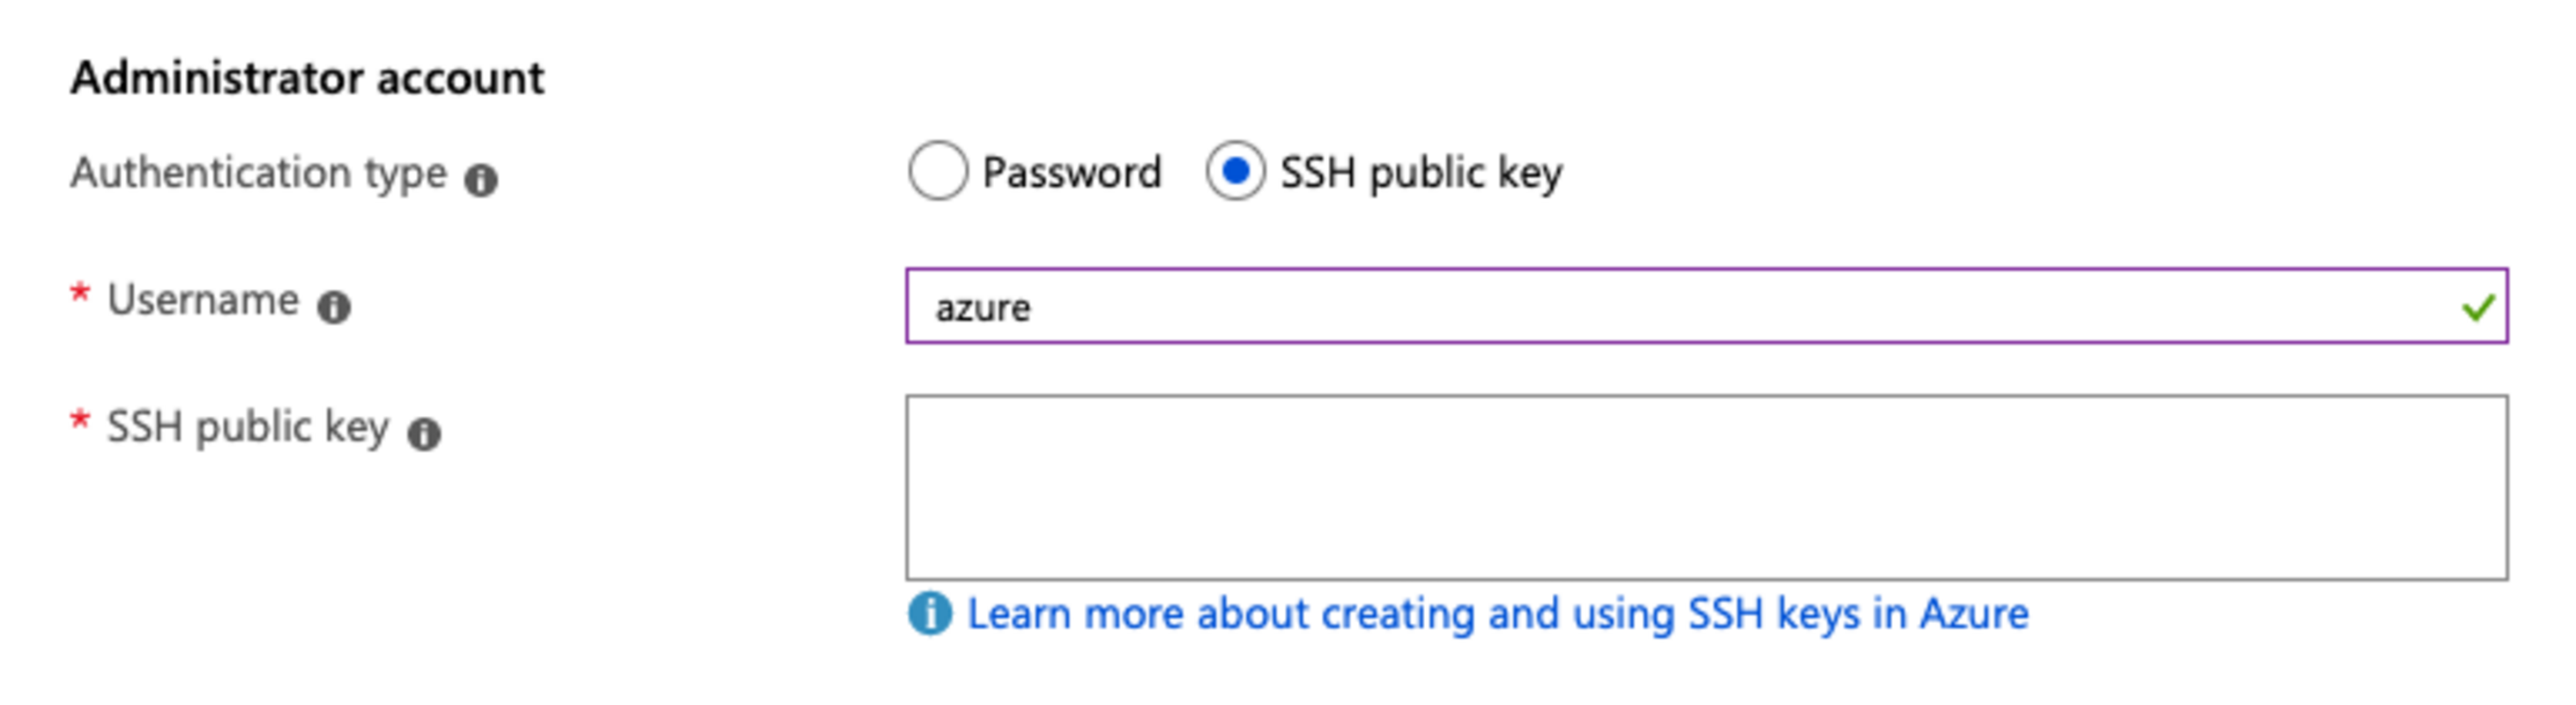
Administrator account
Select SSH public key in the Administrator account config section, and copy your public key into the text field.
You can choose any username here, but you will need to user the username support when you try to connect to the machine.
Note
Make sure that you have access to the corresponding private key, or you will not be able to SSH into the machine.
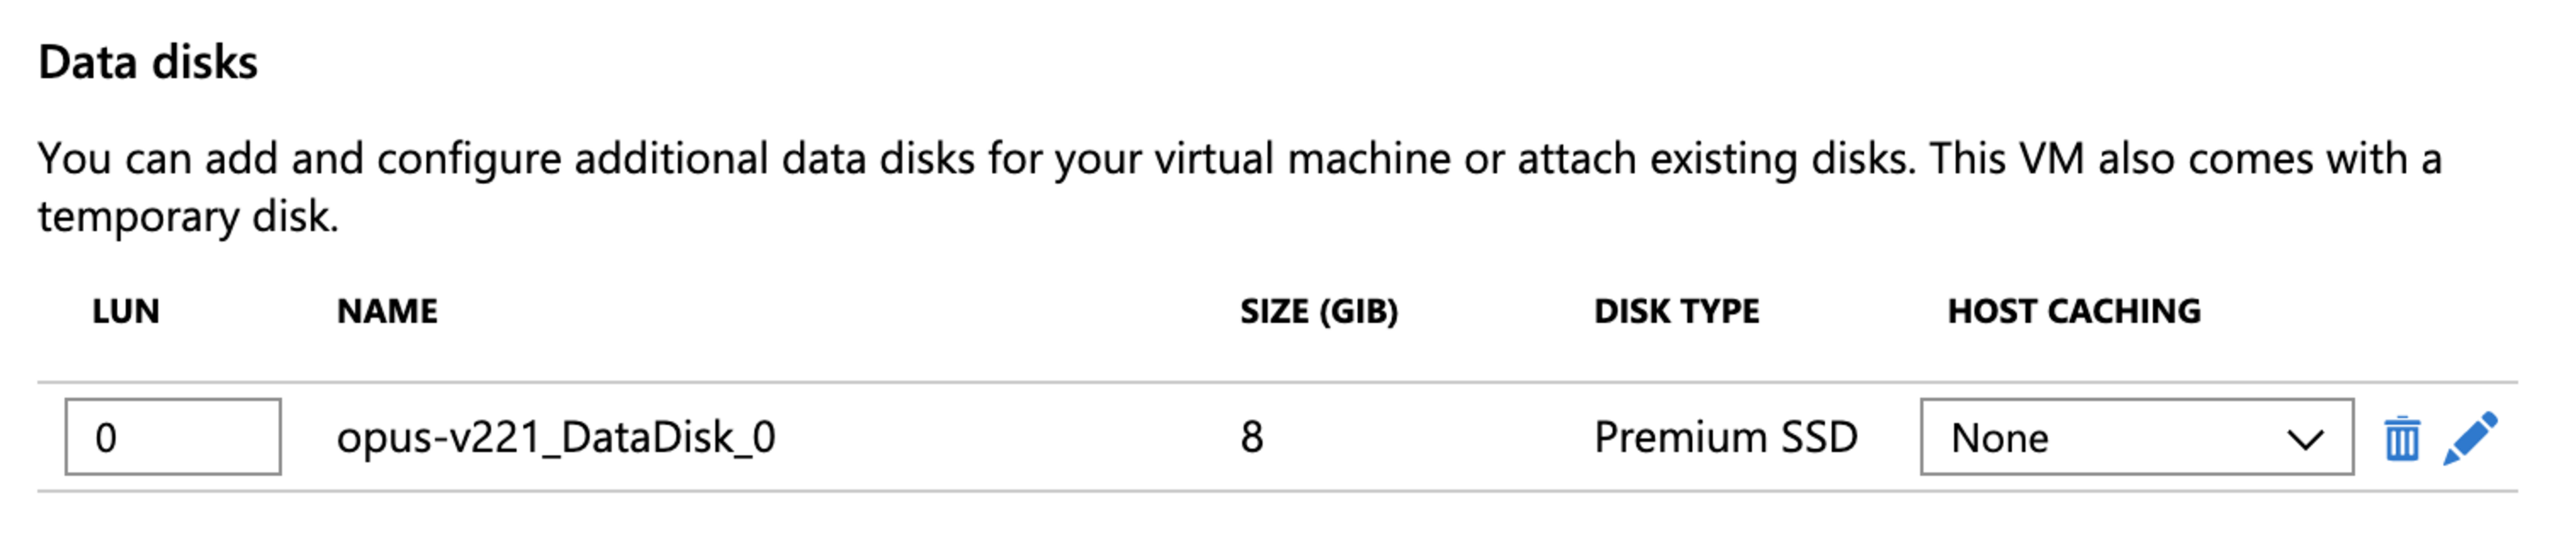
Disk
Make sure that you add a data disk of at least 8gb. This will allow you to upgrade to a new version of Opus without losing data.
Networking
You can use the default setttings for networking, except for the security group, and the Public IP address.
Security group
Select Advanced to create a new security group allowing HTTPS and SSH access from your secure IP address only.

Public IP
Make sure that you select Static assignment, since Opus requires a static IP address.
Management
You can use the default settings.
Advanced
You can use the default settings.
Tags
Tags are not required.
Deploying the VM
Then select Review and create, then Create to deploy your Opus appliance.
Next steps
The next step is configuration.