Deploy using Amazon Web Services
The following steps will walk you through the deployment:
-
Log onto the AWS Management Console.
-
Within the AWS services window select
EC2within the All services > Compute heading.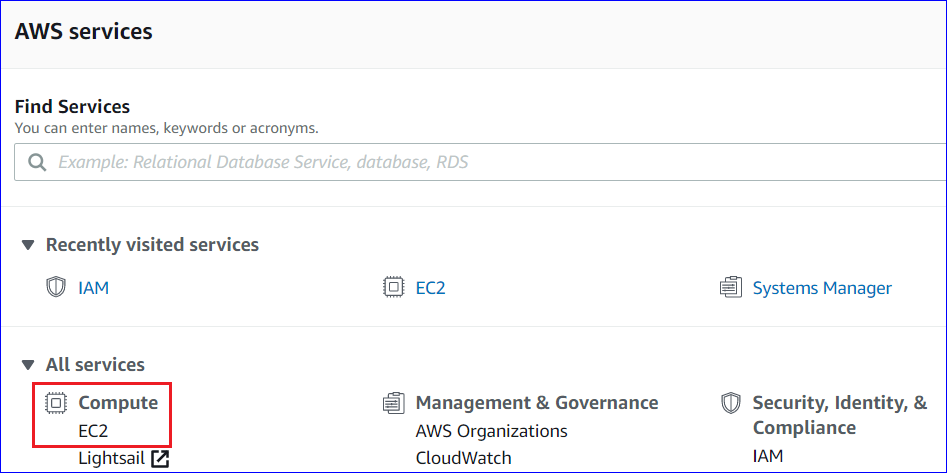
-
Click
Launch Instancewithin the EC2 Dashboard > Resources window.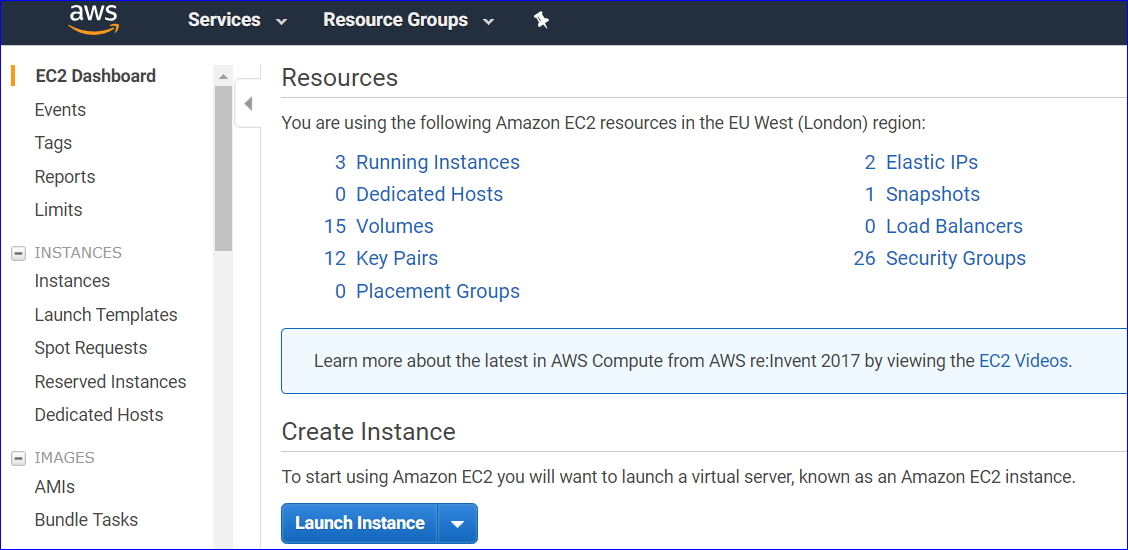
-
Within the Step 1: Choose an Amazon Machine Image (AMI) window, click
Community AMIsfrom the left-hand menu. Search for Osirium PAM.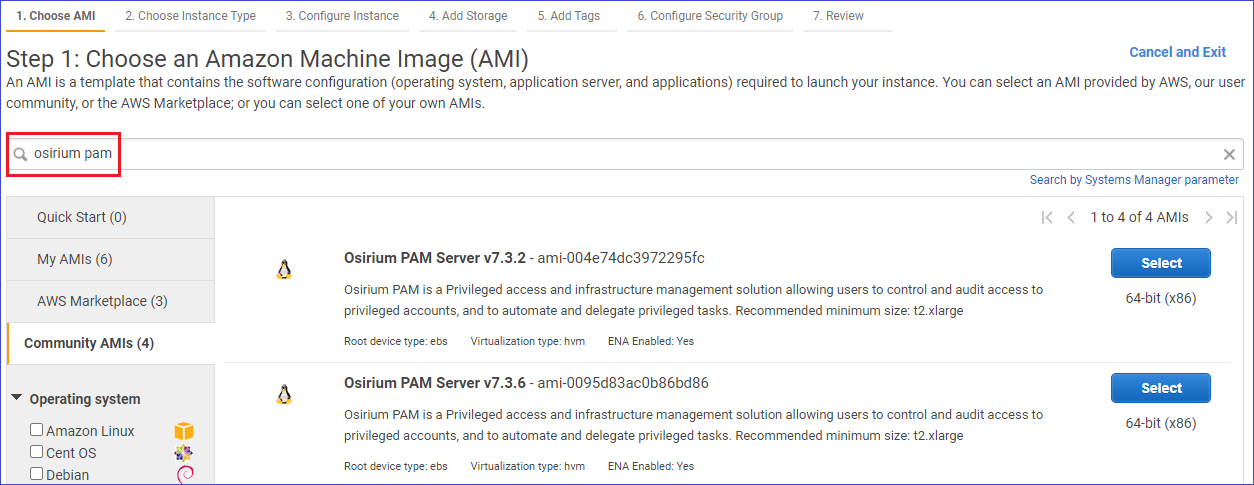
-
Click
Selectnext to the latest version found. -
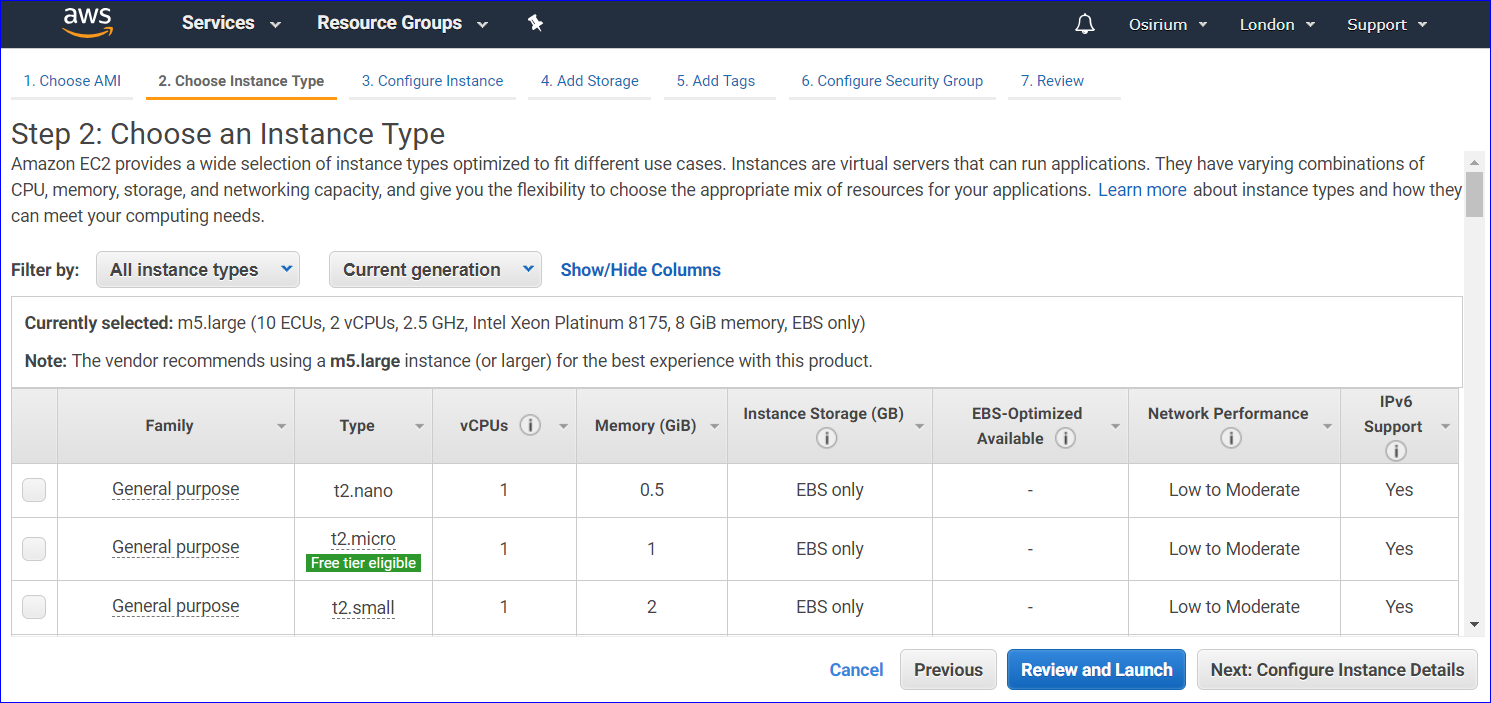
Within the Step 2: Choose an Instance Type window, select the instance you want to deploy the PAM Server onto.
Recommendation
A minimum instance size of 8 vCPUs and 16 GiB is recommended.
-
Click
Next: Configure Instance Details. -
Within the Step 3: Configure Instance Details window, configuring as per your requirements.
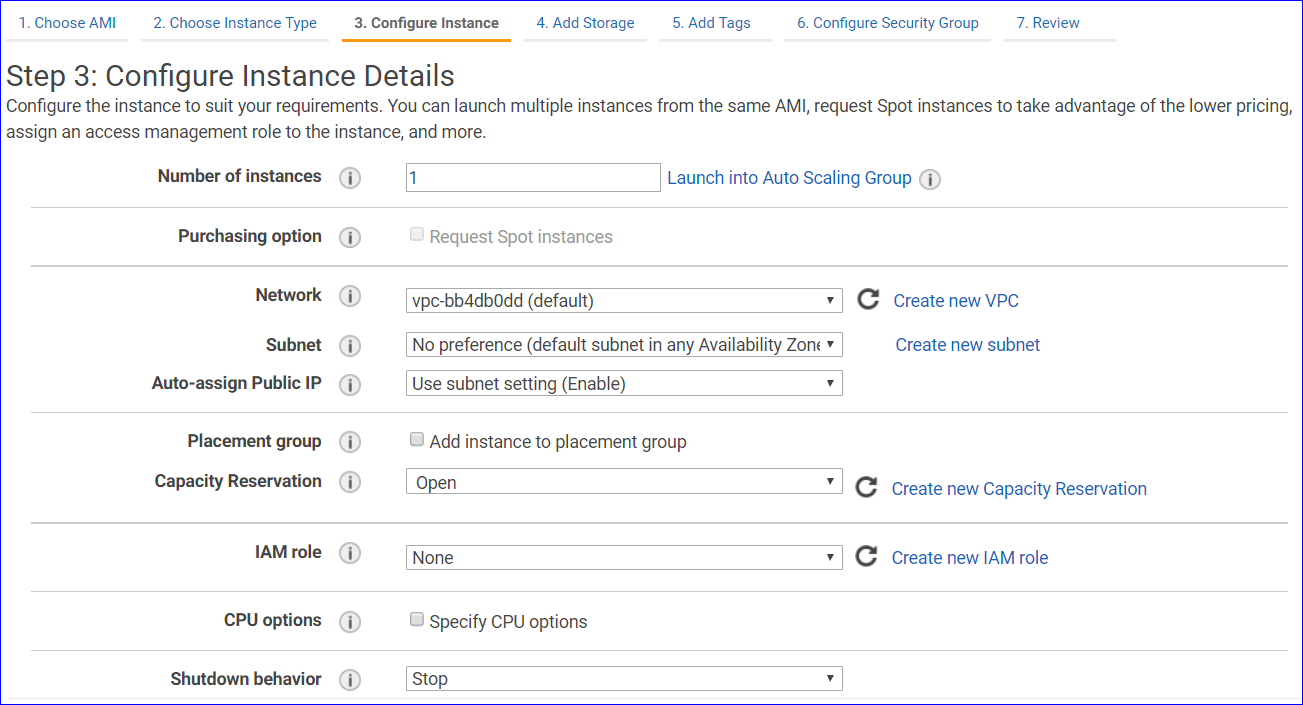
-
Click
Next: Add Storage. -
Within the Step 4 Add Storage window, configure a minimum storage size of 80GB.

Info
To add an additional volume see: Adding Instances Store Volumes to Your EC2 Instance.
-
Click
Next: Add Tags. -
Within the Step 5: Add tags window, configure tags as per your requirements.
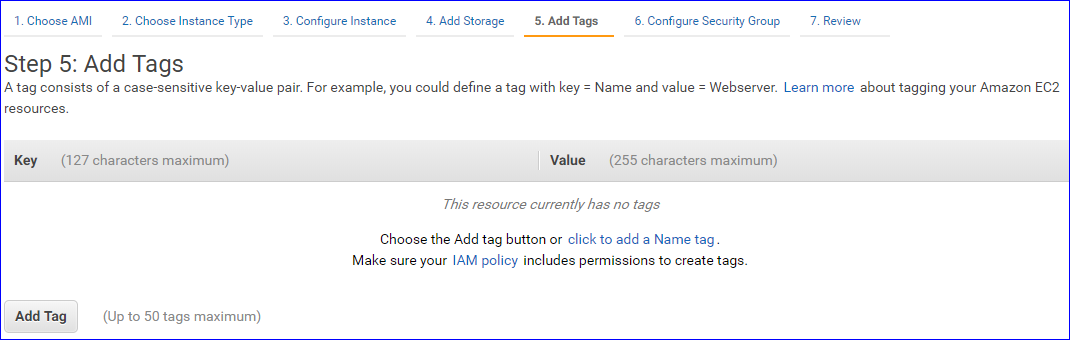
-
Click
Next: Configure Security Group. -
Within the Step 6: Configure Security Groups window, click
Next: Configure Security Groups. The PAM Server preconfigured security group will be visible and the required firewall rules that need to be applied will be listed.
-
Click
Review and Launch. -
Within the Step 7: Review Instance Launch window, review and click
Launch.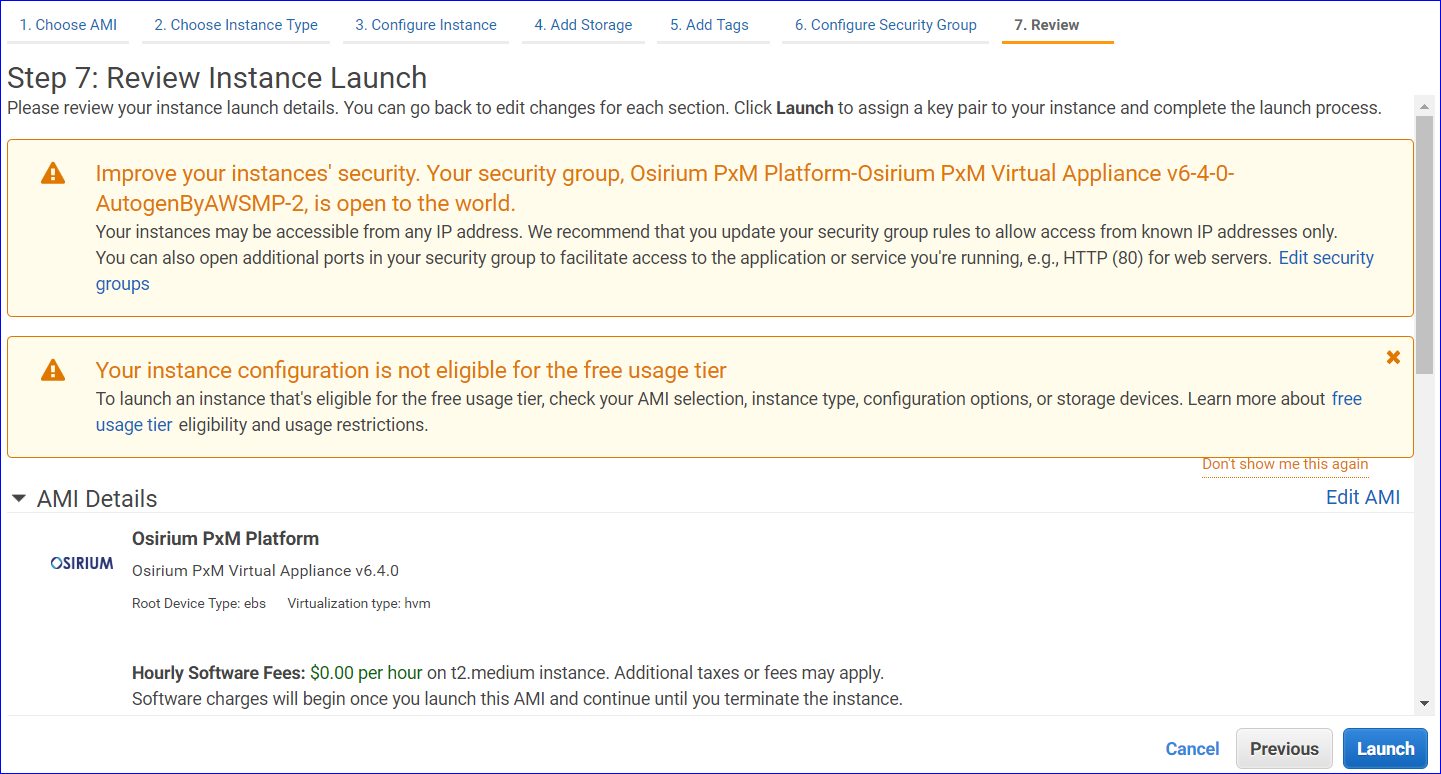
-
Within the Select an existing key pair or create a new key pair window select the option you want to use.
If you use an existing key pair or create a new key pair, make sure the private key file is made available to SuperAdmins who may need to login to the default ubuntu account.
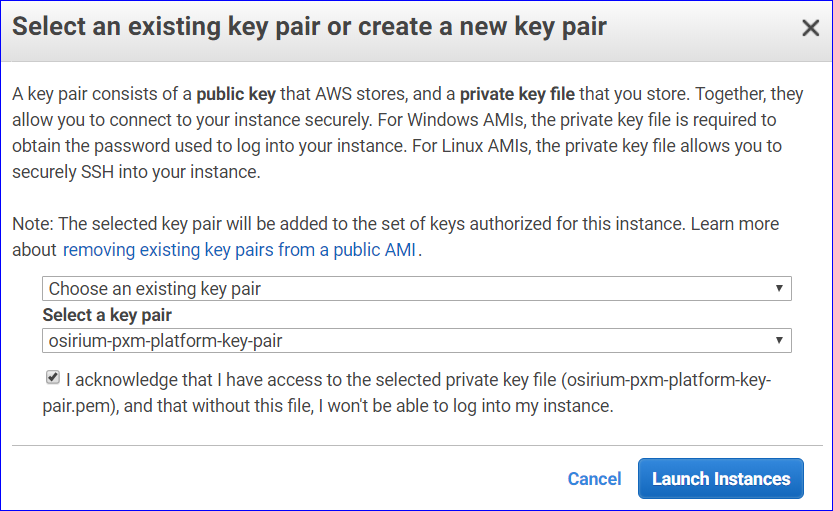
-
Click
Launch Instances. -
Within the Launch Status window, click
View Instances. Wait while the instance is initialised and passed the Status Checks.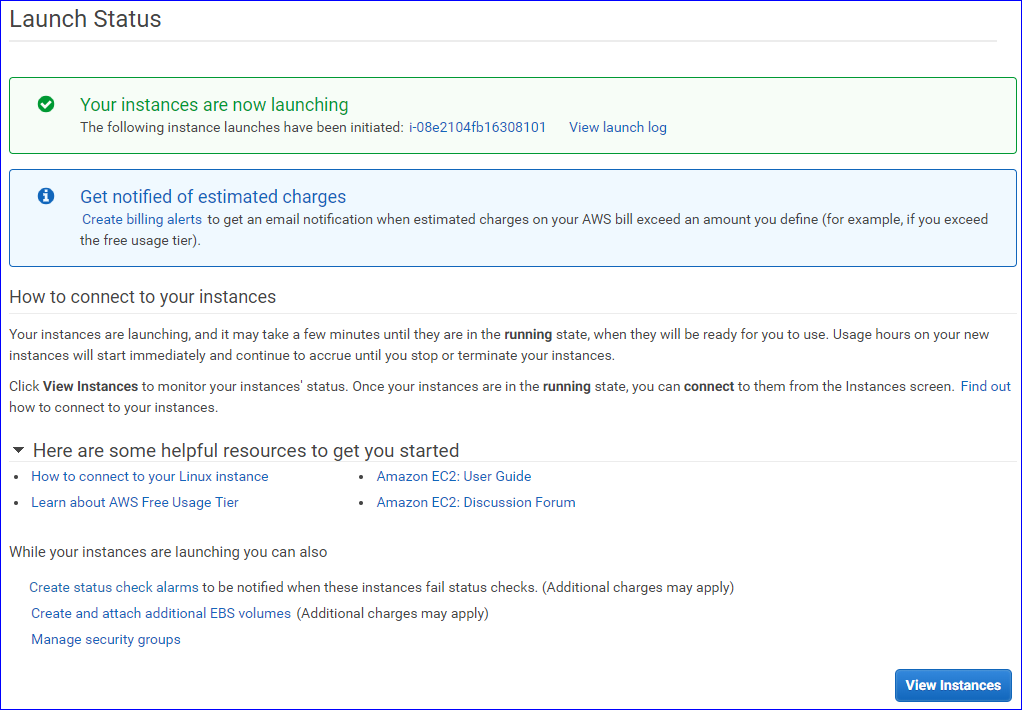
-
From the instances list, right-click the PAM Server instance created and click
Connect.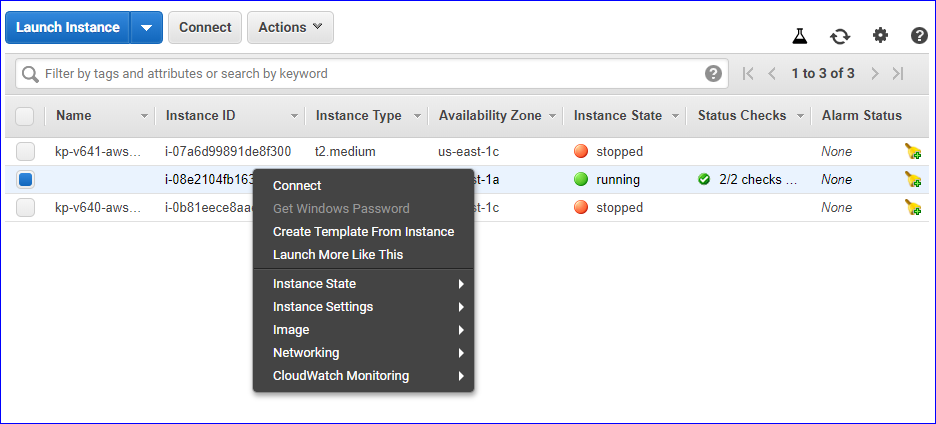
-
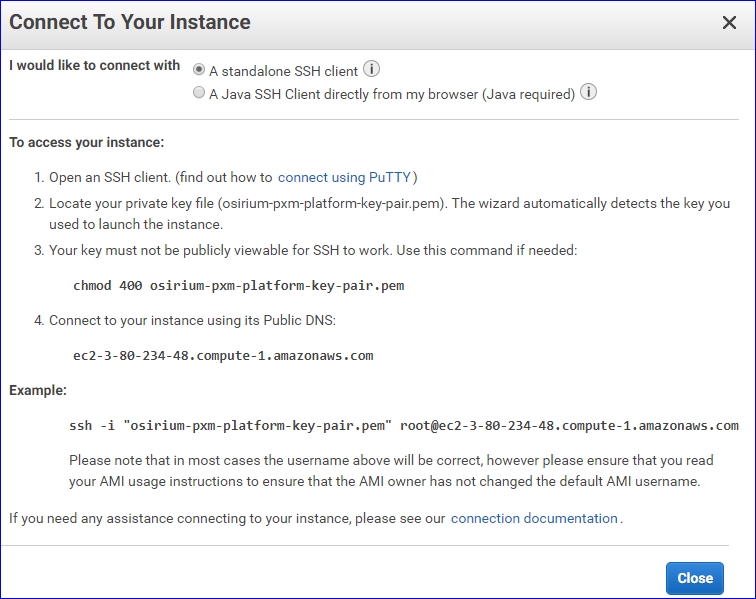
You will be presented with the Connect To Your Instance window which provides the instructions on how to connect to your instance. Leave this window open.
-
Open an SSH client of your choice and follow the instructions in the Connect To Your Instance window to connect using the private key file.
-
Once the server has been successfully deployed and powered on the next step is to configure the server.
Click one of the following installation steps to return to the correct steps: