Deploy using Microsoft Hyper-V
The following steps will walk you through the deployment:
-
Within your existing Hyper-V infrastructure, create a new virtual machine with a custom configuration.
-
On the Before You Begin screen click
Next >.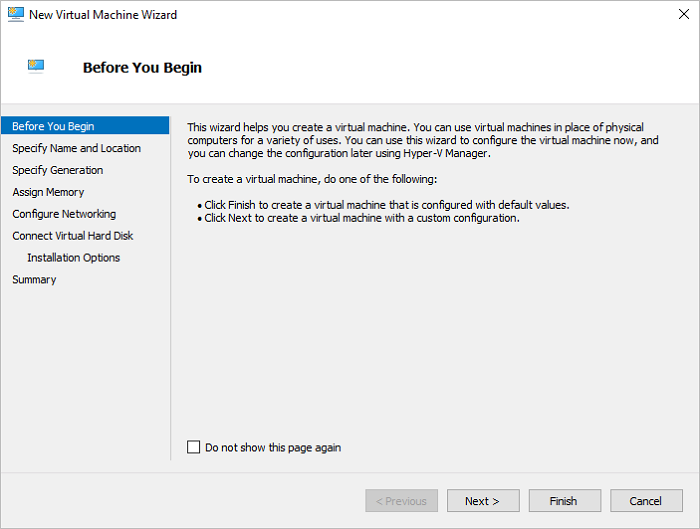
-
On the Specify Name and Location screen, enter the name and location based on your preferences and click
Next >.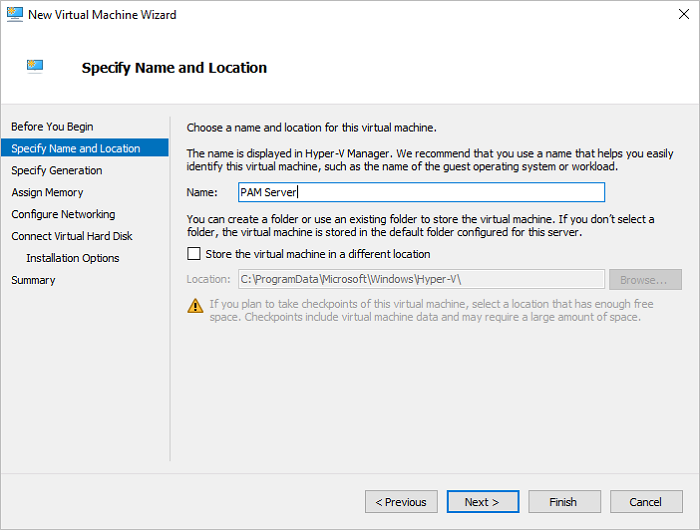
-
On the Specify Generation screen, select Generation 1 and click
Next >.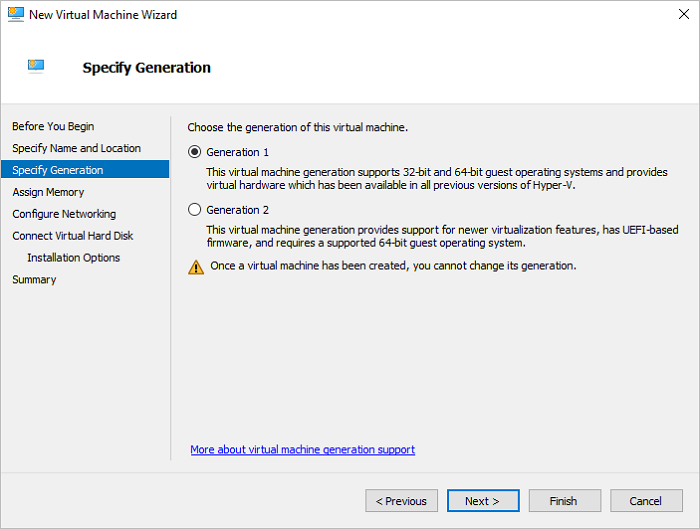
Warning
Do not select Generation 2 as it is not supported.
Note
When adding an external disk it must to be mounted to the IDE controller for it to work. For further information see External filestore.
-
On the Assign Memory screen, set the Startup memory as 16384 MB, deselect the Use Dynamic Memory for this virtual machine and click
Next >.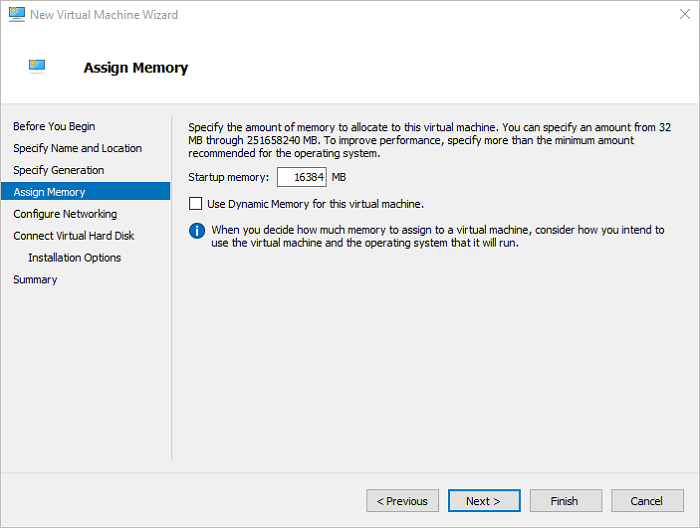
-
On the Configure Networking screen, set the Connection based on your preferences and click
Next >.
-
On the Connect Virtual Hard Disk screen, select Use an existing virtual hard disk, browse to the download VHD file and click
Next >.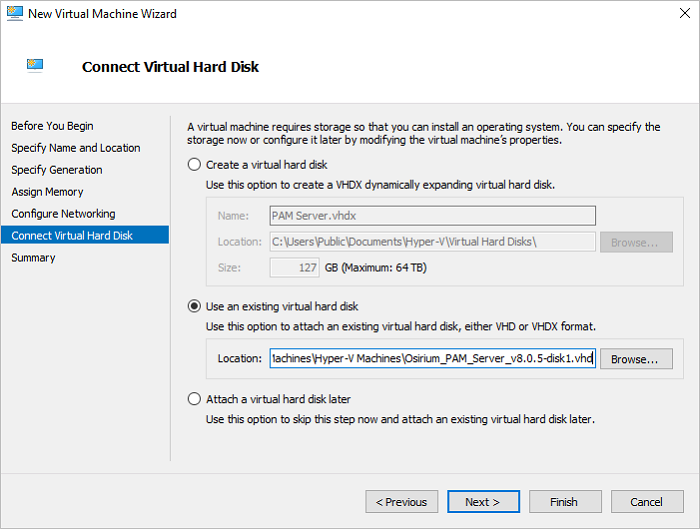
-
On the Summary screen verify the details shown and click
Finish.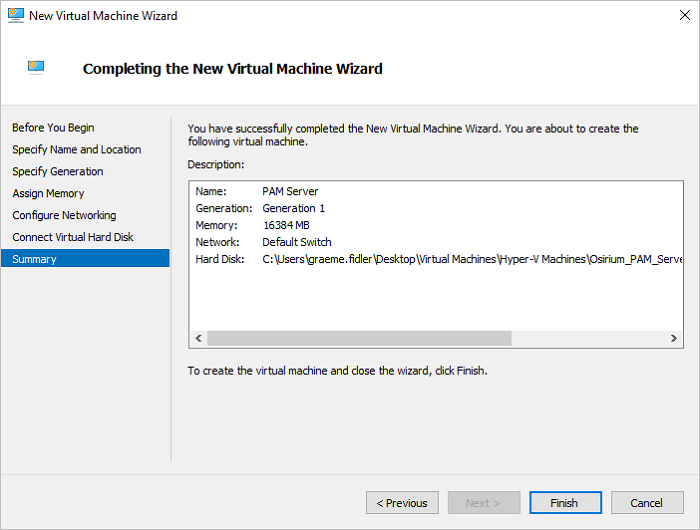
-
Wait while the virtual appliance is created.
-
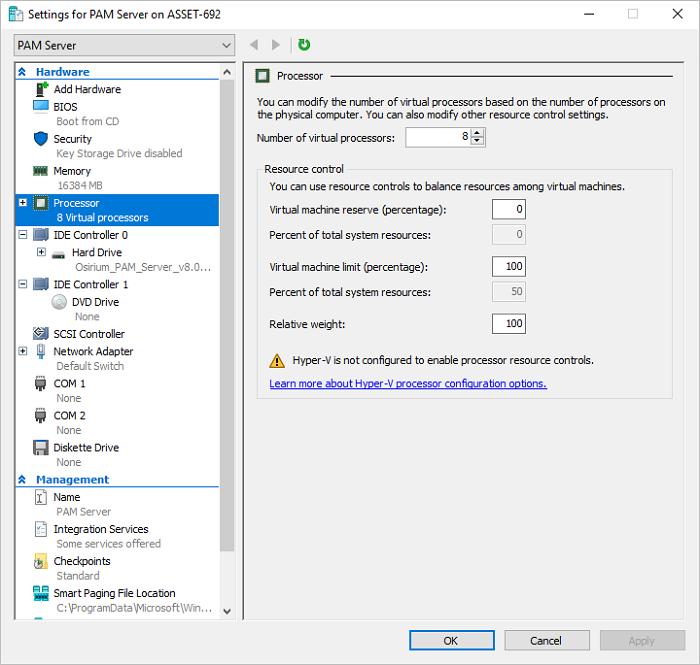
In the Virtual Machines list, right-click the new virtual appliance and click
Settings....
-
In Processor, assign 8 virtual processors to the virtual appliance.
-
In the Virtual Machines list, right-click the virtual appliance and select
Start. -
Once started, right-click the virtual appliance and select
Connect. The virtual machine will open in a window on your desktop. -
The next step is to configure the server. Click one of the following installation steps to return to the correct steps: