Upgrading the MAP Server
This section covers:
Overview
The MAP Server should be upgraded in line with the PAM Server release versions.
When upgrading consider the following features that have been introduced and how you might want to upgrade your current system.
-
The shared secret of a MAP Server can now be manually set during installation rather than one being generated for you at random. This allows you to set a shared secret inline with your password policies but also allows you to add a single MAP Server to multiple PAM Server.
-
When provisioning a thick application, MAP Server connections can be configured to use Active Directory accounts by provisioning the thick application using a MAP enabled template (requires an authentication service).
-
Personal user accounts are created on the MAP Server the first time a user logs on. This allows each user to have a personal profile on the MAP Server they connect to and is used each time they connect to a thick application on that MAP Server.
Note
If you are using multiple MAP Servers, we recommend configuring MAP server groups with all MAP Servers in the same group using the same shared secret.
Warning
Before starting your upgrade make sure that all prerequisites have been met.
Upgrade procedure
-
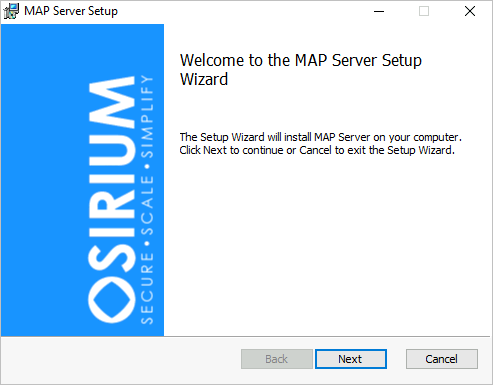
Within the Windows Server, run the MAP Server installation file. The MAP Server Setup window appears.
-
Click
Next. -
Within the End-User License Agreement window, read and accept the license agreement.

-
Click
Next. -
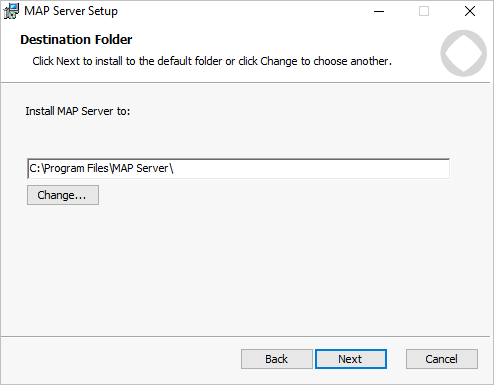
Within the Destination Folder window, accept the default folder location or specify a location of your choice.
Note
If installing to a location different to where the MAP Server was previously installed, the files in the old location will be tidied up.
-
Click
Next. -
On the Enter your shared secret window you have a number of options to choose from which are:
-
To continue using the existing shared secret ensure you check the
 Use existing shared secret checkbox.
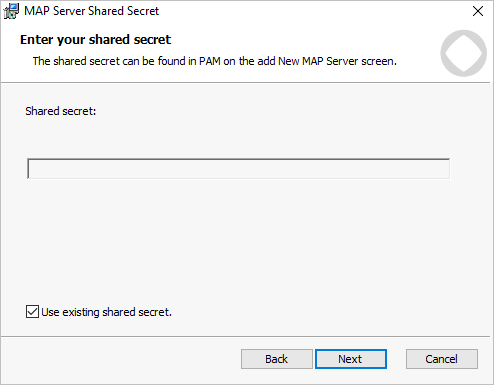
-
To enter a new shared secret created by you: changing from the generated shared secret to supplying your own shared secret will require you to remove and re-add the MAP Server through the Admin Interface.
To do this:
- Uncheck the Use existing shared secret checkbox.
- Enter your shared secret.
- Once you have finished upgrading your MAP Server:
- Log onto the Admin Interface
- Select MAP servers in the left-hand menu.
- On the Manage MAP Servers page click on the MAP Server(s) that need to be re-added and make a note of the MAP server groups each one belongs to. You will notice that on the named MAP Server page there is an error and a status of Incorrect Shared Secret.
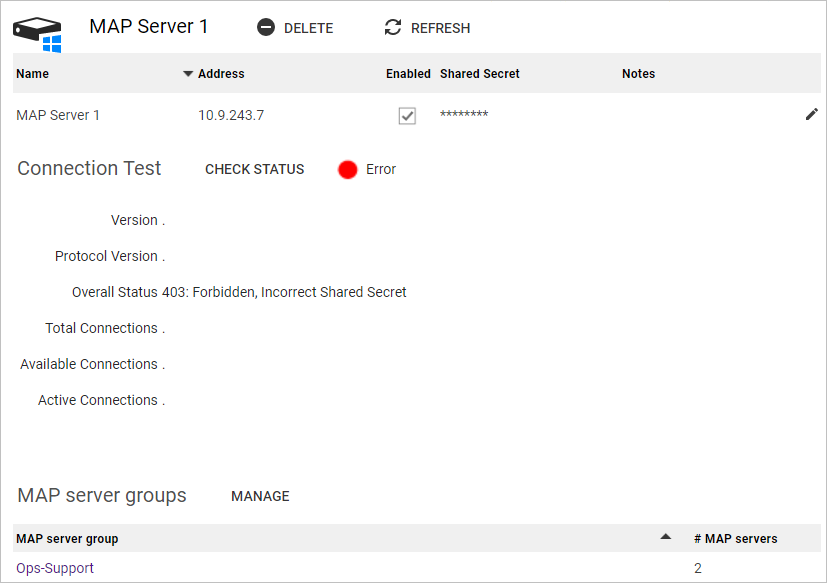
- Delete the MAP Server(s).
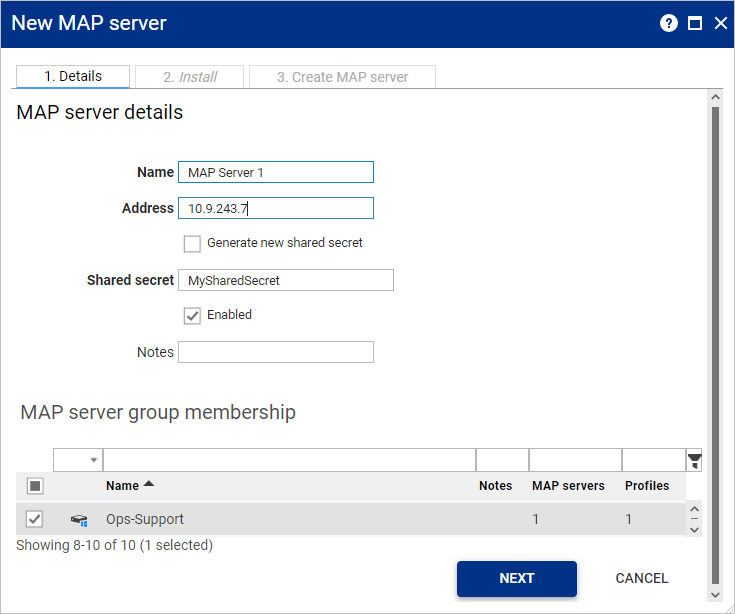
- Click on New MAP Server and add the MAP Server making sure to select the relevant MAP server groups and unchecking
 Generate new shared secret so you can enter the shared secret set during the upgrade.
Note
For further details on adding the MAP server to a PAM Server click here.
-
-
Click
Next. -
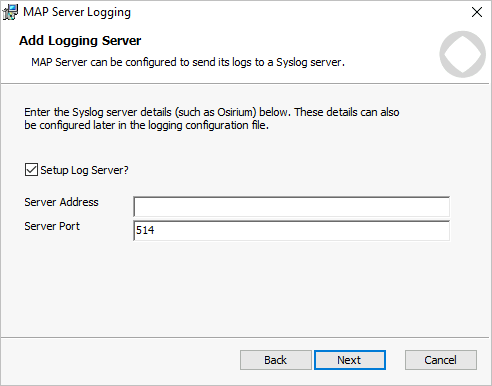
To enable the MAP server to send logs to a syslog server:
- Within the Add Logging Server window, select
Setup Log Server?. - Provide your Server Address and Server Port details.
We recommend using your PAM Server as your syslog server so you can view syslog messages in the Admin Interface. See Administrators Guide > Logs
- Within the Add Logging Server window, select
-
Click
Next. -
Within the Ready to install MAP Server window, click
Install. The installation process begins.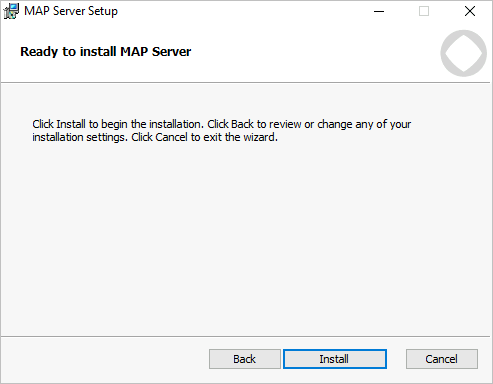
-
Within the Completed the MAP server Setup Wizard window, click
Finish.
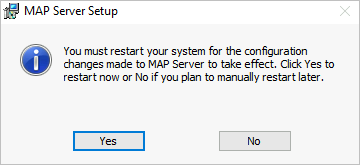
-
Within the MAP Server Setup window, click
Yesto restart your system.