Upgrading the PAM UI Server using Microsoft Hyper-V
Warning
Before starting your upgrade make sure that all prerequisites have been met.
The following steps walk you through upgrading the PAM UI Server within your Microsoft Hyper-V infrastructure:
-
Within Microsoft Hyper-V upload the PAM UI Server ISO file into the same storage location as the other files belonging to the virtual appliance you are upgrading. Ensure you retain the ISO file version number in the filename for future reference and to easily identify what version is running.
-
Right-click the virtual appliance to be upgraded and select
Turn Off....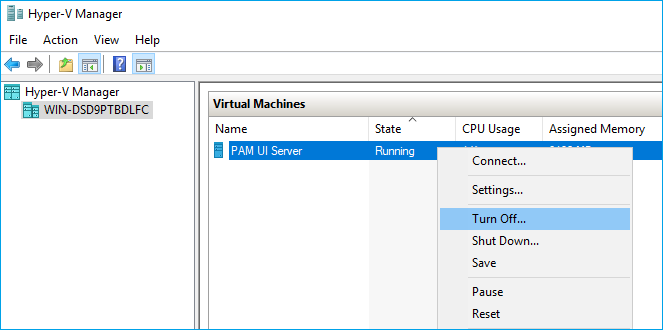
-
Wait for the PAM UI Server to shut down, then right-click the virtual appliance and select
Settings....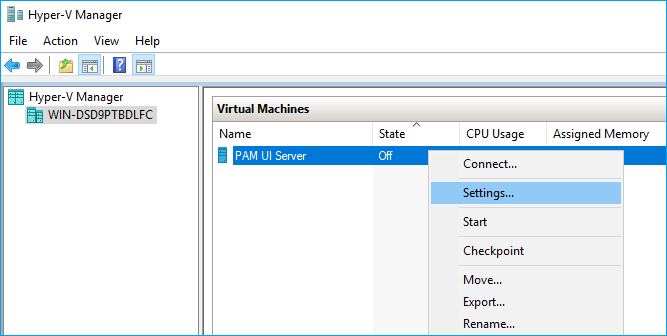
-
Select the DVD Drive and click the
BROWSE...button. Select the new PAM UI Server ISO from the datastore.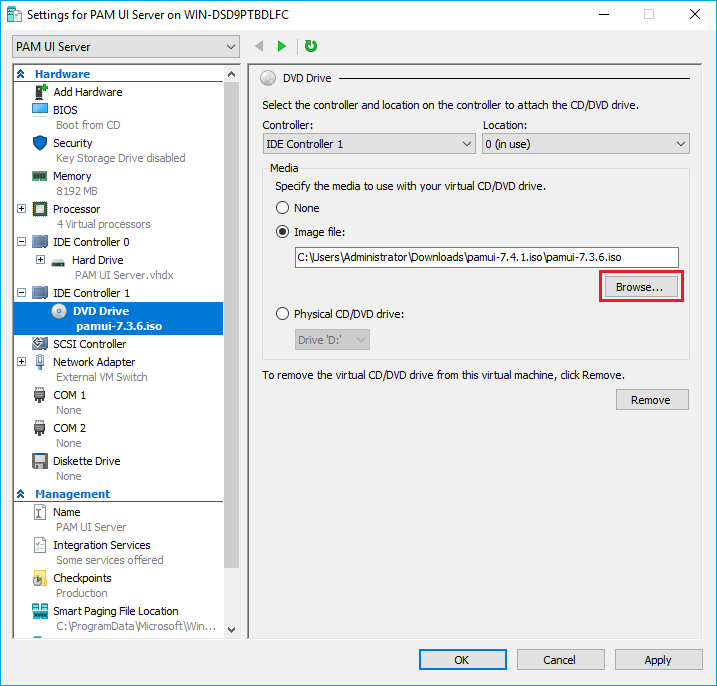
-
Click
OK. -
Right-click the virtual appliance and select
Start. The PAM UI Server will now boot and apply the updates.Wait while the configuration is applied and the virtual appliance is rebooted. The upgrade is now complete and ready for use.