Deploy using Nutanix Prism Central
The following steps will walk you through the deployment:
-
Within your existing Nutanix Prism Central infrastructure click Dashboard > Virtual Infrastructure > OVAs.
-
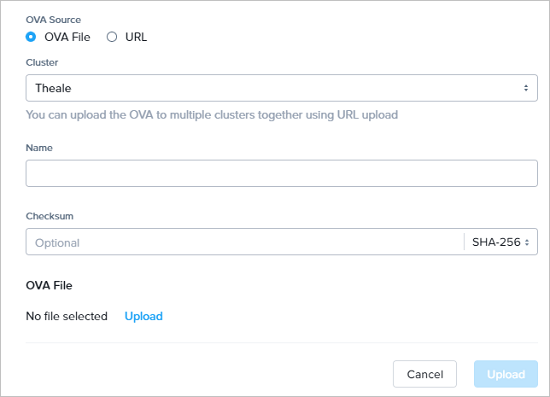
On the OVAs screen click
Upload OVA. -
On the Upload screen, select a Cluster and enter a Name based on your preferences and click Upload to browse and select the OVA.
-
Wait while the OVA is uploaded and click
Upload. -
Select the OVA and click Actions > Deploy as VM.
-
On the Configuration screen, enter an Name, select a Cluster and click
Next.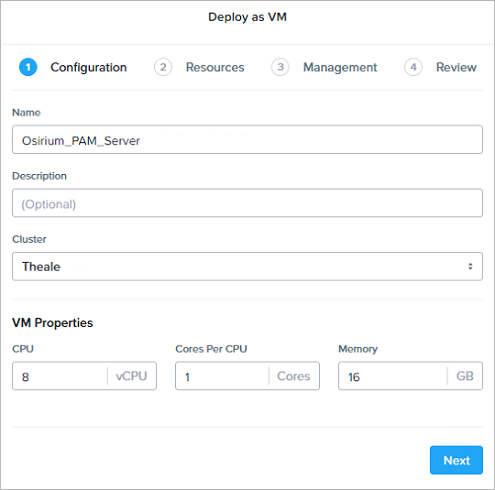
-
On the Resources screen, select the Networks Subnet based on your preferences and click
Next.
-
On the Management screen, select Categories and Timezone based on your preferences and click
Next.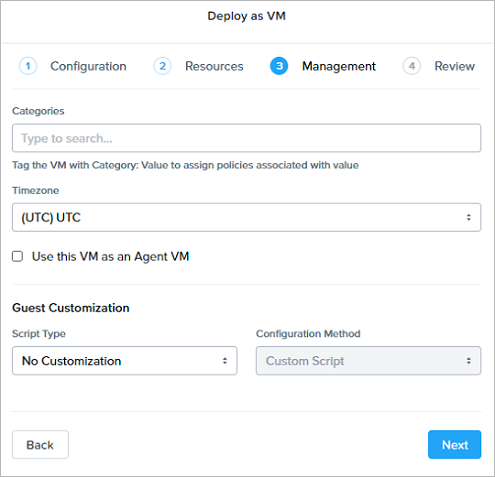
-
On the Review screen, verify the details shown and click
Launch.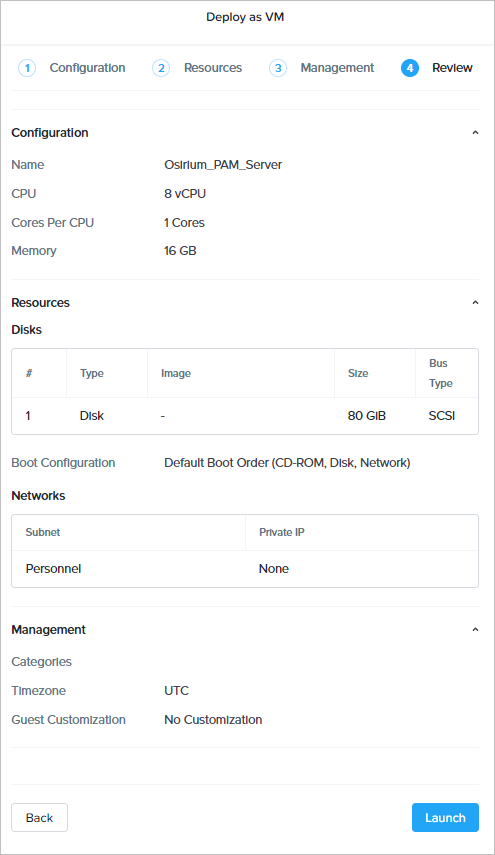
-
Wait while the virtual appliance is created.
-
Once the virtual appliance has been created click Dashboard > Virtual Infrastructure > VMs.
-
The new virtual appliance will be displayed and will be automatically powered on.
-
Once started, right-click the virtual appliance and select
Launch Console. The virtual machine will open in a window on your desktop. -
The next step is to configure the server. Click one of the following installation steps to return to the correct steps: