Deploy using Microsoft Azure
The following steps will walk you through deploying the PAM UI Server within your environment.
-
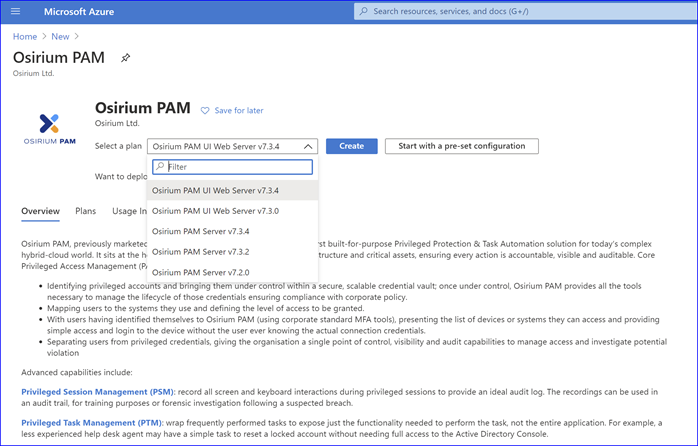
Open the Azure Marketplace and search for Osirium PAM.

-
From the list of software plans select the required version of the PAM UI Server.
-
Click
Create.INSTANCE DETAILS
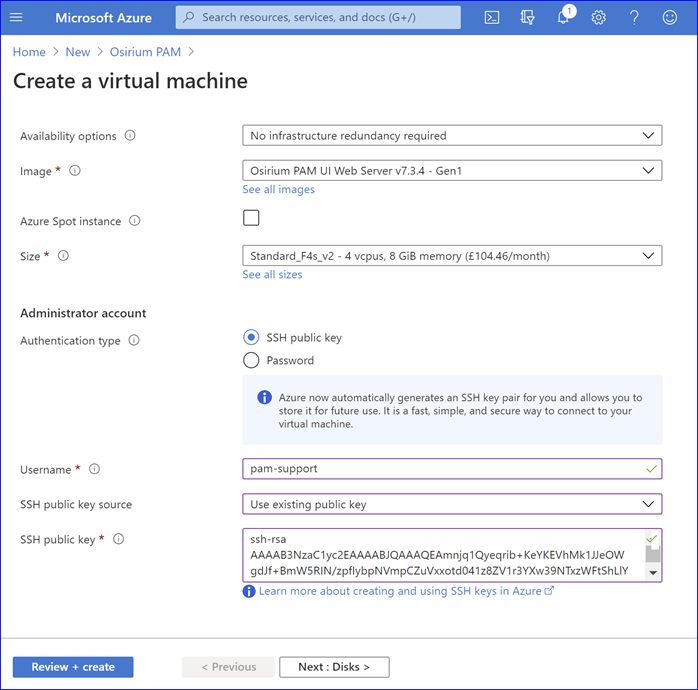
Field name Description Resource group Select or create a new resource group. Virtual machine name Enter a name you want the PAM UI Server to be identified as. Region Select based on your own deployment requirements. Availability options Select based on your own deployment requirements. Azure Spot instance Leave as default. Image Leave as default. Size Select based on your own deployment requirements (ensuring you meet the minimum requirements). ADMINISTRATOR ACCOUNT
Field name Description Authentication type MUST set to SSH public key. NOTE: You MUST use the one line format of the ssh public key as used in authroized_keys files. This begins with “ssh-rsa”.
The Azure portal help on this field states that you can use either one line format or the PEM format multi line file, but PEM format is not supported by the PAM UI Server. You MUST use the one line format.
Username Enter a username. NOTE You cannot use admin or support as these are reserved names within Azure.
SSH public key Paste your SSH public key. Example:
-
Click
Next: Disks >. -
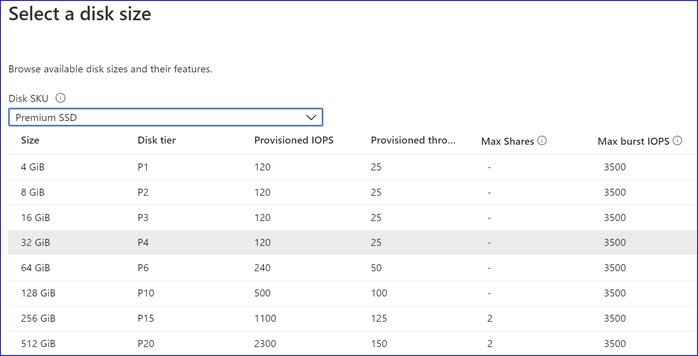
Change the OS disk type if you do not wish to use a Premium SSD disk.
-
You MUST add a data disk to the PAM UI Server.

-
Click the blue text
Create and attach a new disk. -
Within the Create a new disk window click the blue text
Change size. -
The default for a new data disk is 1024GB. Change this to 32GB.
-
Click
OK.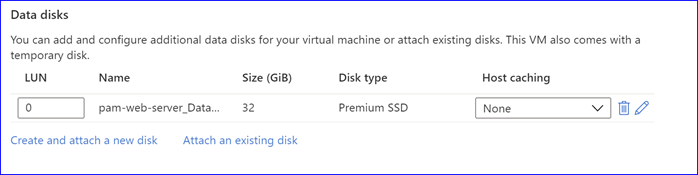
-
Click
Next: Networking >. -
Select the required networking options.
-
The marketplace offer has a built-in Network Security Group which opens SSH (TCP 2) and HTTPS (TCP 443). Change this if required.
-
Click
Next : Management >. -
Review the Management settings and set as appropriate for your environment.
-
Click
Next : Advanced >. -
Leave the Advanced settings as default.
-
Click
Next : Tags >. -
Add any tags you require for your environment.
-
Click
Next : Review + create > -
Review the settings and click
Create.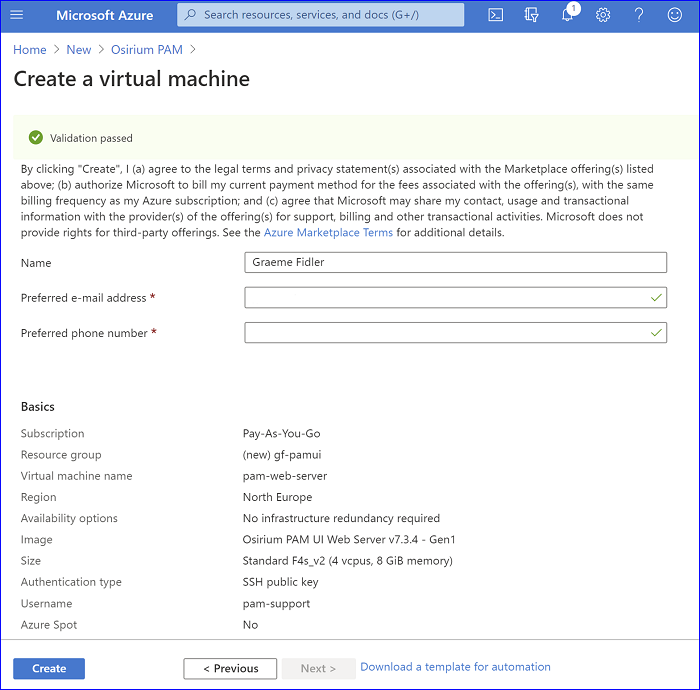
-
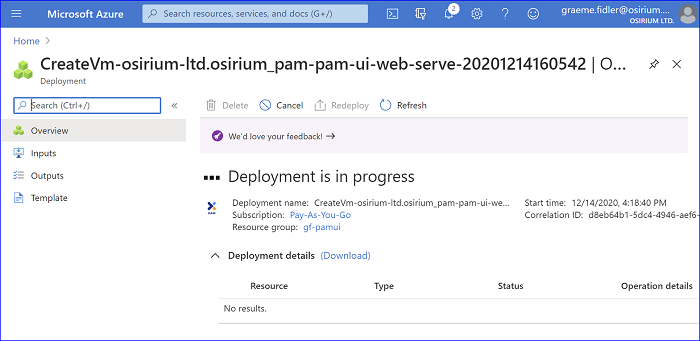
The PAM UI Server virtual machine will now be created.
-
Once created you can connect using the public or private IP Address or configure a DNS name.
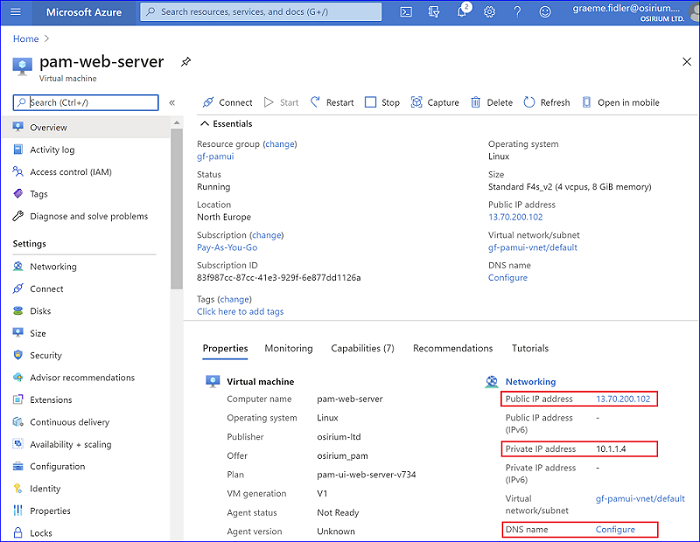
You are now ready to configure your PAM UI Server. See System configuration of the PAM UI Server.