Azure
An upgrade should take around 20 minutes.
Supported upgrade paths
All appliances must upgrade to v3.1.x before upgrading to versions above v3.1.x.
Tip
If an upgrade fails (due to an unsupported upgrade path), you can attach the previous ISO to recover the appliance.
Stop the appliance
You will need to stop the appliance to take a snapshot of the data disk for the upgrade, so there will be a few minutes' downtime. Make sure that there are no tasks running before powering off the appliance.
Navigate to the Virtual machines dashboard, select the PPA appliance machine, and click Stop.
Take a snapshot of the data disk
While the current appliance VM is selected, click on Disks and select the first Data disk. It will have a name like ppa-v221_DataDisk_1.
Then select Create snapshot taking a note of the snapshot name, e.g. ppa-v221_DataDisk_1.
Create a new managed disk from the snapshot.
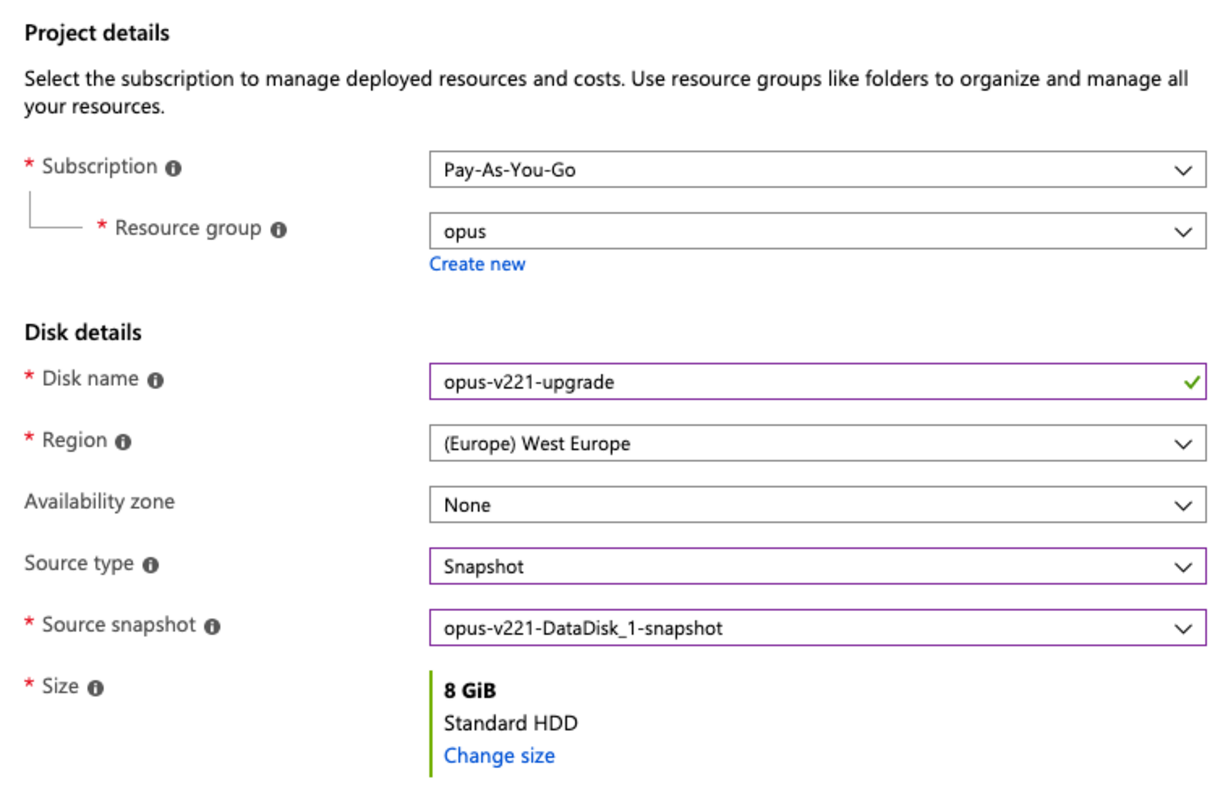
Navigate to the Disks dashboard and select Add. This will open the Create managed disk dialog, which will allow you to create a new disk using the snapshot you created previously.

Take a note of the name of the new managed disk, e.g. ppa-v221-upgrade.
Disassociate the static Public IP address
You will need to transfer the public IP address from the current appliance to the new one.
Navigate to the Public IP addresses dashboard and find the record that is associated with your current appliance.
Select Disassociate to make the record available for association with the new appliance.
Create a new appliance
Follow the Azure installation instructions to create a new PPA appliance using the latest version on Azure marketplace.
When you get to the Disks tab, you will need to provide the managed disk that you created earlier name when adding the data disk.
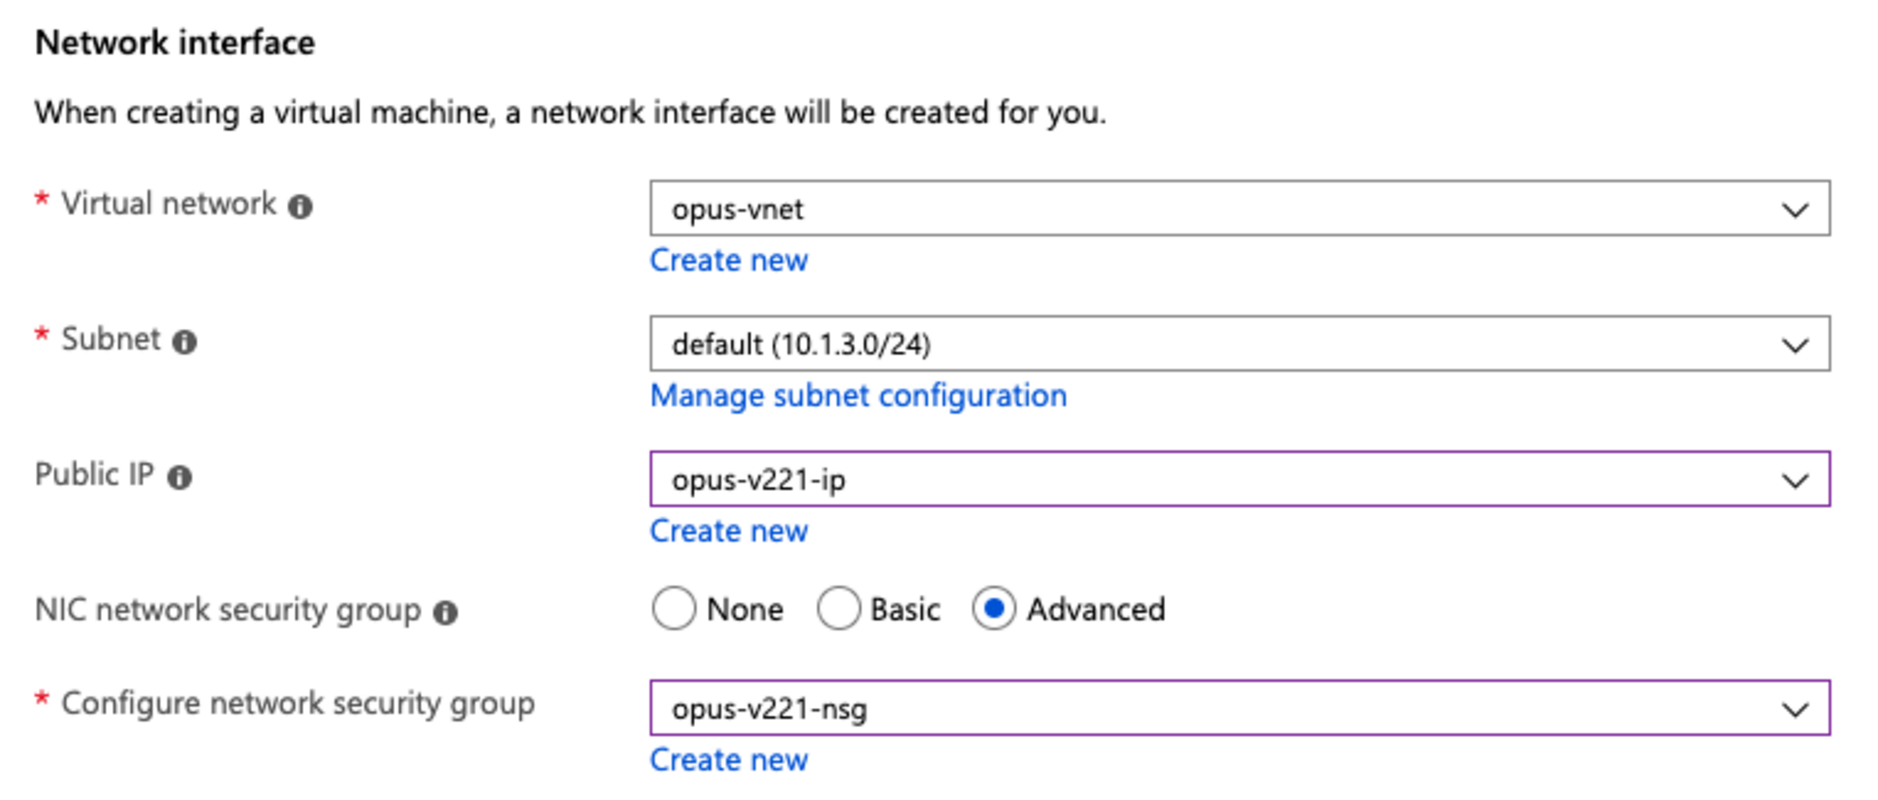
When you get to the Networking tab, you can use the Public IP address that you disassociated previously.
You can also use the security group that you created for the old version of the appliance.

Proceed with the rest of the installation as normal.
Complete
PPA will now boot and apply any database migrations automatically.
Your new appliance will now be accessible from the same IP as the old one.
After a few minutes the new version of PPA will be available. Check the version label on the login screen to confirm.