VMware
An upgrade should take around 5 minutes.
Supported upgrade paths
All appliances must upgrade to v3.1.x before upgrading to versions above v3.1.x.
Tip
If an upgrade fails (due to an unsupported upgrade path), you can attach the previous ISO to recover the appliance.
Preparation
Download Upgrade ISO
Download the latest ISO to your local machine:
https://supportdesk.osirium.com/a/solutions/articles/9000173922
Upload to Datastore
From the Files tab of your virtual machine, navigate to a suitable datastore and folder.
Select Upload Files.

Select the ISO on your local machine.
Wait for the transfer to complete.
Upgrade
Power Off Virtual Machine
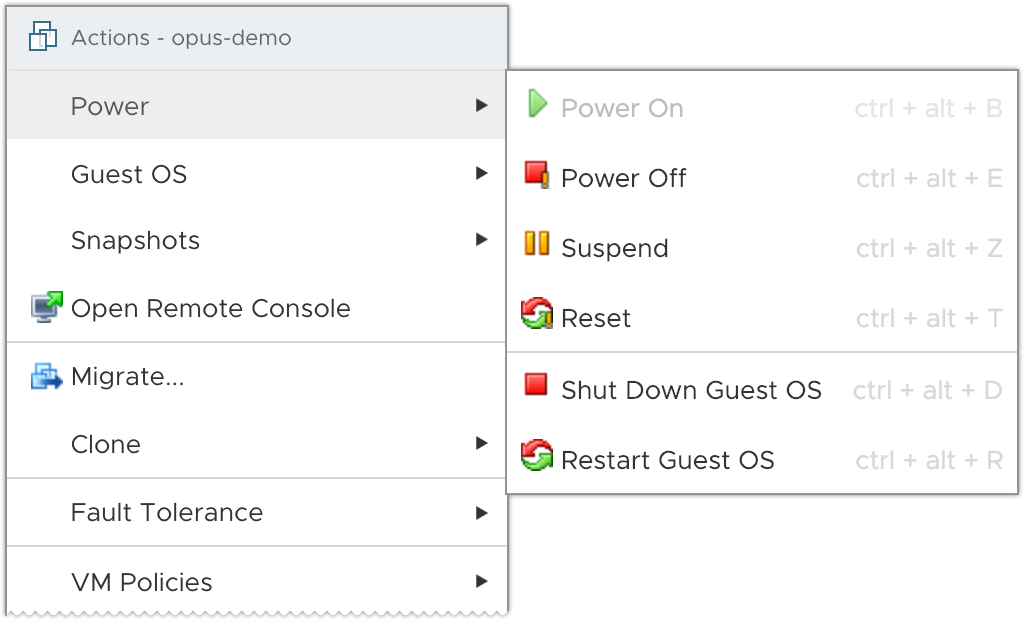
If the virtual machine is in a powered on state, right-click it and select Power > Shut Down Guest OS:
Wait for the virtual machine to shut down.
Alternatively, from the console type sudo poweroff.
Select New ISO
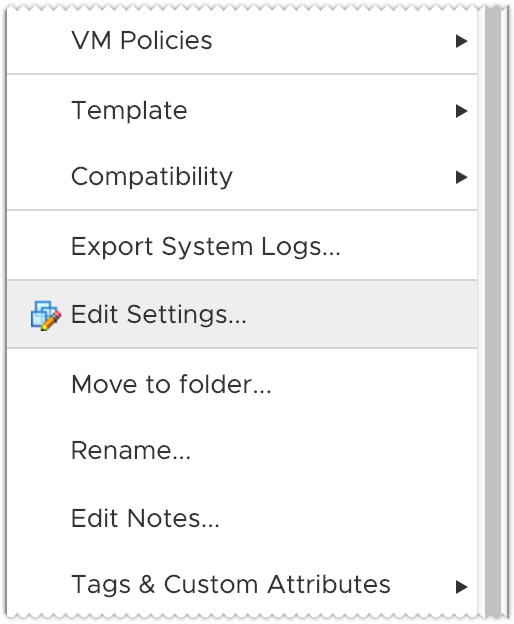
Right click the virtual machine and select 'Edit Settings...':
Toggle 'CD/DVD drive 1', look for 'CD/DVD Media' and click the 'BROWSE...' button:
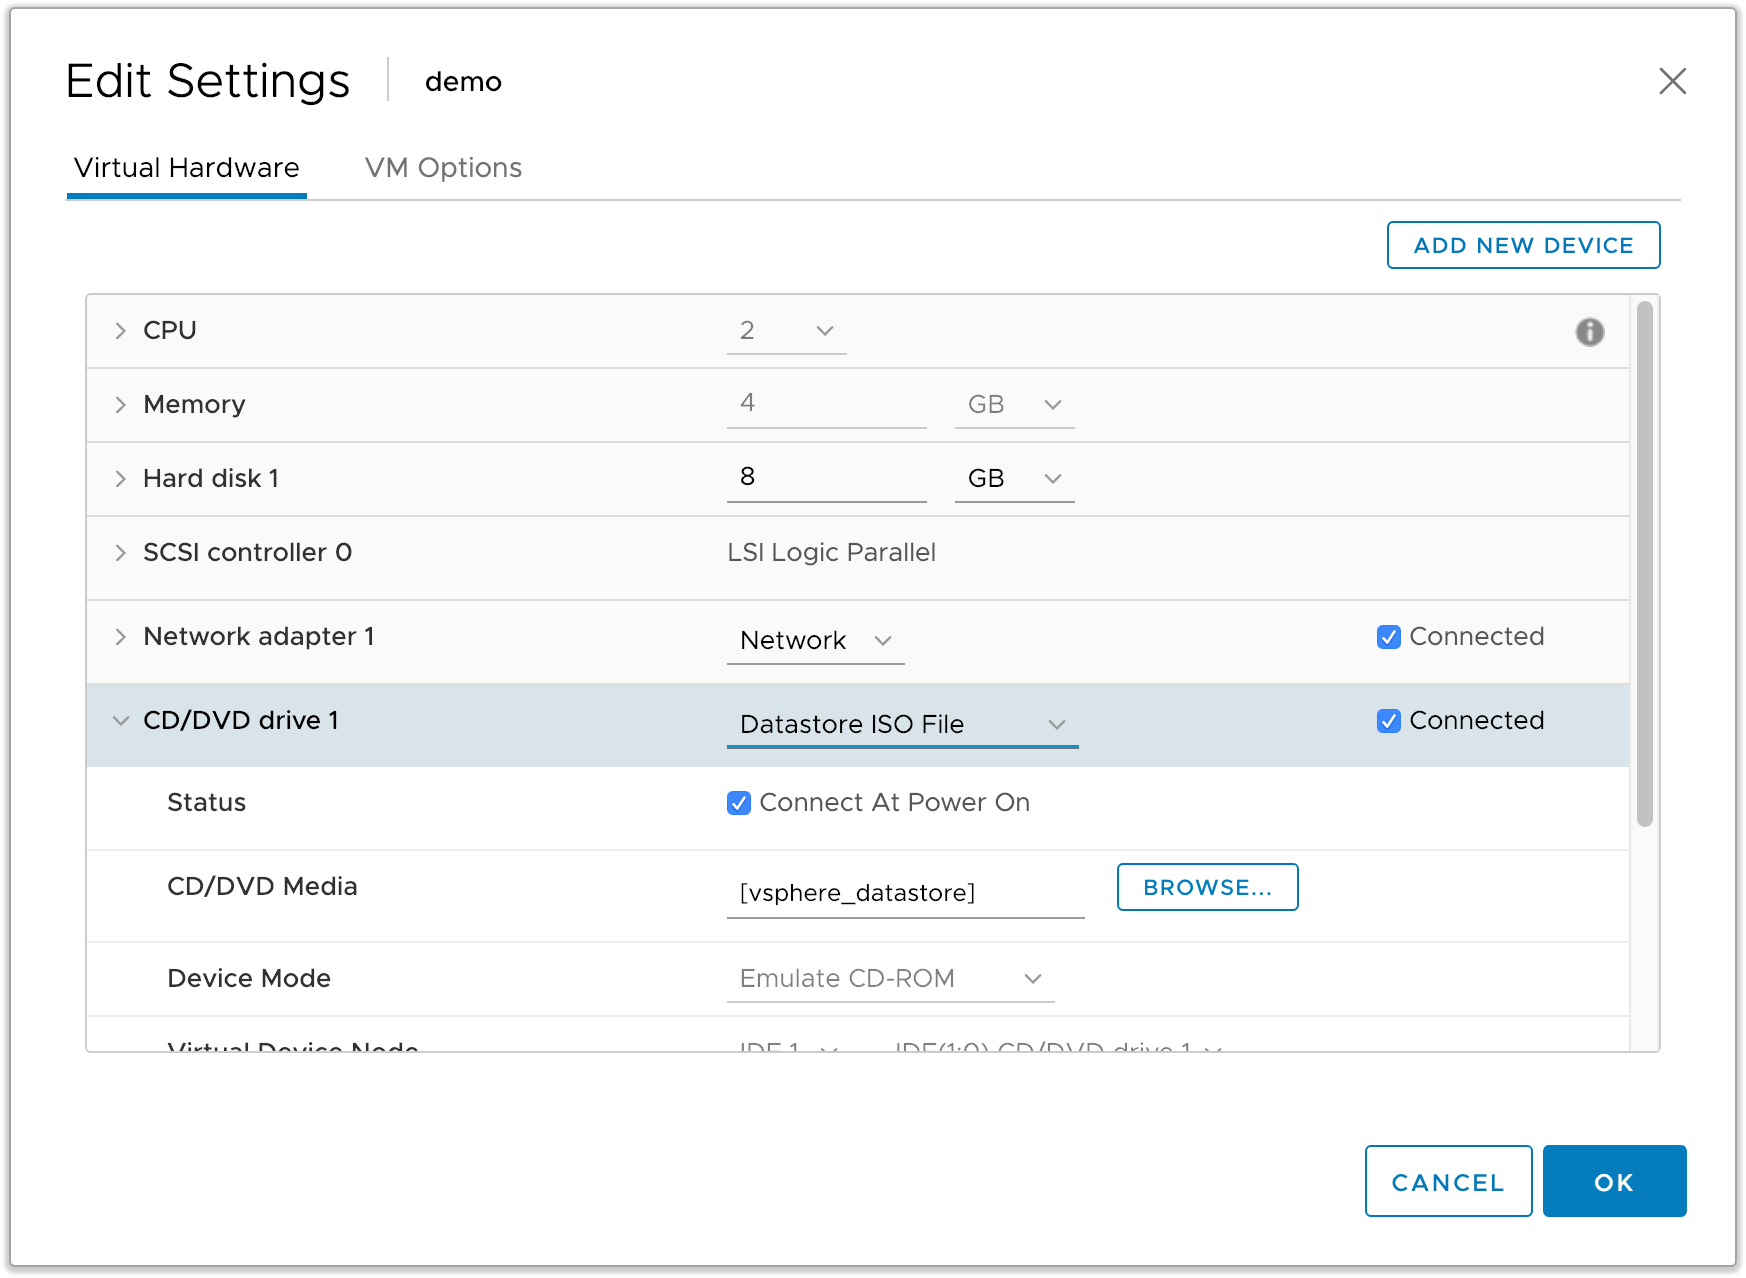
Select the correct PPA ISO from the datastore.
Power On Virtual Machine
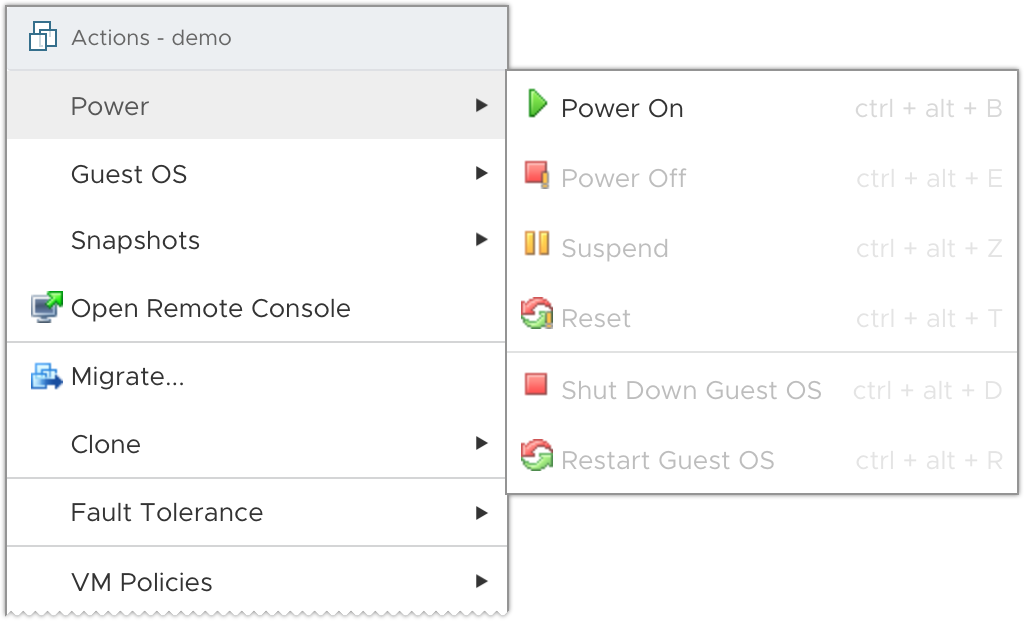
Right-click the virtual machine and select Power > Power On:
Warning
Do not detach the ISO from the virtual machine at any point, even after the VM has been deployed.
The ISO contains the system OS, and PPA will break if it is detached.
Initial Setup Complete
PPA will now boot and apply any database migrations automatically.
After a few minutes the new version of PPA will be available. Check the version label on the login screen to confirm.